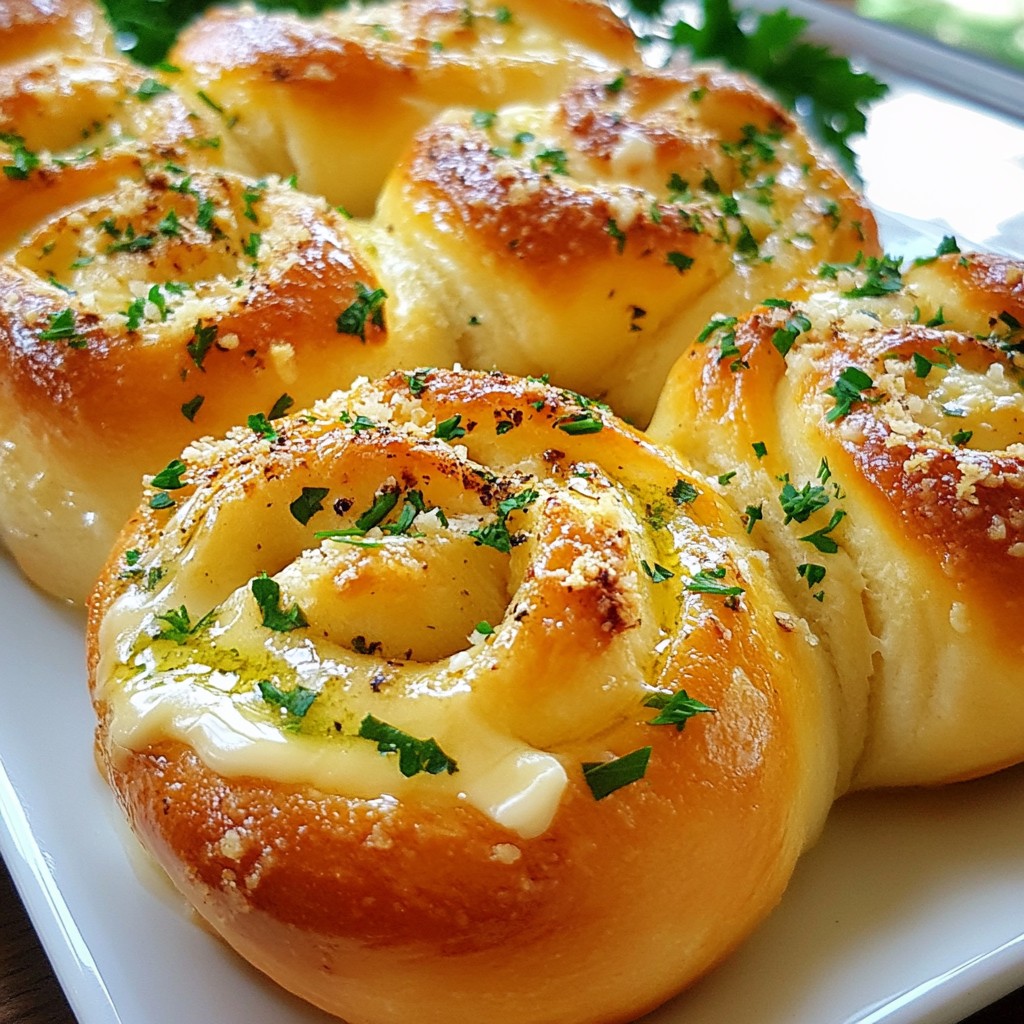
Craving something warm and tasty? Let me show you how to make savory Garlic Parmesan Knotted Rolls! This easy recipe will fill your kitchen with delicious aromas. With a few simple ingredients, you can impress your family or guests in no time. From the creamy garlic flavor to the perfect knots, these rolls are a treat. Ready to dive into the world of baking? Let’s get started!
Why I Love This Recipe
- Irresistible Flavor: The combination of garlic and Parmesan creates a mouthwatering aroma and taste that is simply unforgettable.
- Fun to Make: Shaping knots from the dough adds a playful element to baking, making it an enjoyable activity for the whole family.
- Perfect for Any Occasion: These rolls are versatile and can accompany any meal, or serve as a delicious snack on their own.
- Great for Sharing: With 12 rolls in a batch, they are perfect for gatherings, ensuring there’s enough for everyone to enjoy.
Ingredients
List of Ingredients
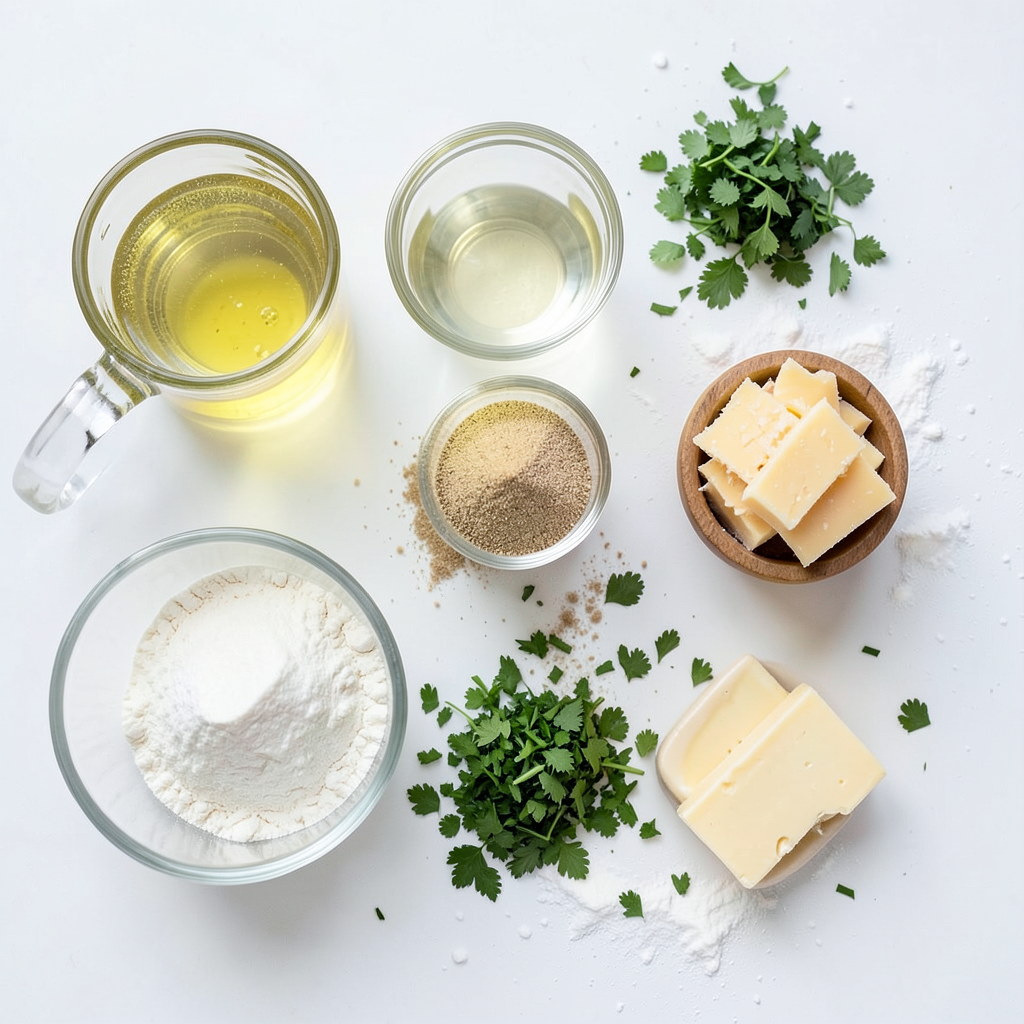
- 2 ½ teaspoons active dry yeast (1 packet)
- 1 teaspoon sugar
- ¾ cup warm water (110°F)
- 2 tablespoons olive oil
- 2 cups all-purpose flour
- ½ teaspoon salt
- ¼ teaspoon garlic powder
- ½ cup grated Parmesan cheese
- 2 tablespoons unsalted butter, melted
- 1 tablespoon fresh parsley, chopped (for garnish)
- Extra flour for dusting
Measurements and Quantities
Use a packet of yeast for easy measuring. You need ¾ cup of warm water. This helps the yeast bloom. Olive oil adds flavor and moisture, so use 2 tablespoons. For the flour, measure 2 cups to form your dough. Salt is key, so use ½ teaspoon. Garlic powder adds depth; ¼ teaspoon will do. The star is the Parmesan cheese, with ½ cup for that rich taste. Use 2 tablespoons of melted butter to brush your rolls. Finally, chop 1 tablespoon of fresh parsley for a pop of color.
Substitutions and Variations
You can swap active dry yeast for instant yeast if you like. Just follow the same amount. If you want a different flavor, try using whole wheat flour instead of all-purpose flour. For a dairy-free option, use a dairy-free cheese. You can also mix in different herbs, like oregano or thyme, for added flavor. Just remember, each change will alter the taste slightly, but it will still be delicious!
Step-by-Step Instructions
Preparation of Yeast Mixture
To start, grab a small bowl. Combine warm water, sugar, and active dry yeast. Use water that feels warm, about 110°F. Let it sit for 5 to 10 minutes. You want it to get frothy. This shows the yeast is alive and ready to work.
Dough Mixing and Kneading
Next, take a large mixing bowl. Whisk together all-purpose flour, salt, and garlic powder. Once the yeast mixture is frothy, pour it into the flour mix. Add olive oil at this time. Mix until a dough forms. Dust your counter with extra flour. Knead the dough there for 5 to 7 minutes. You want it smooth and elastic. After kneading, place it in an oiled bowl. Cover it with a towel and let it rise in a warm spot. This takes about 1 hour, or until it doubles in size.
Shaping and Baking the Rolls
After the dough has risen, punch it down gently. Divide it into 12 equal pieces. Roll each piece into a rope, about 8 to 10 inches long. Tie each rope into a knot and place them on a baking sheet lined with parchment paper. Brush the knots with melted butter. Sprinkle grated Parmesan cheese over the top. Now, preheat your oven to 375°F. Bake the rolls for 15 to 20 minutes, until they turn golden brown. When done, let them cool slightly. Garnish with chopped parsley before serving.
Tips & Tricks
Achieving the Perfect Texture
To get soft and fluffy Garlic Parmesan Knotted Rolls, focus on kneading. Knead the dough for about 5-7 minutes. When the dough feels smooth and elastic, it's ready. Don't skip the rising time. Let it double in size. This step adds air and makes the rolls light and soft.
Common Mistakes to Avoid
One common mistake is using water that is too hot. This can kill the yeast. Make sure your water is around 110°F. Another mistake is not letting the dough rise enough. If the dough does not double, the rolls will be dense. Finally, ensure you don’t overbake them. Keep an eye on the rolls and take them out when golden brown.
Serving Suggestions and Pairings
These rolls shine when served warm. Place them on a rustic wooden board. A small bowl of marinara sauce or garlic butter makes a great dip. You can also pair them with a fresh salad or pasta. They make a perfect side for a cozy dinner. Enjoy the flavors of garlic and Parmesan with every bite!
Pro Tips
- Use Fresh Yeast: For the best flavor and texture, try to use fresh yeast instead of dried. It can make a noticeable difference in your rolls.
- Perfect Knots: When tying the knots, make sure to leave some space between them on the baking sheet to allow for expansion during baking.
- Experiment with Cheese: Feel free to mix different cheeses such as mozzarella or cheddar with the Parmesan for a unique flavor twist.
- Store Properly: To keep the rolls fresh, store them in an airtight container at room temperature for up to 2 days or freeze them for longer storage.
Variations
Cheese Alternatives
You can switch up the cheese for your rolls. Instead of Parmesan, try cheddar or mozzarella. Both add a rich taste that pairs well with garlic. If you want a stronger flavor, use blue cheese. Just remember, different cheeses melt and taste differently. Experiment to find your favorite!
Adding Herbs or Spices
Adding herbs or spices can boost the flavor of your rolls. Try mixing in dried oregano or thyme with the dough. You can also sprinkle some red pepper flakes for a bit of heat. Fresh herbs like rosemary or basil work great too. Just chop them fine and mix them in for extra zing!
Gluten-Free Options
If you need gluten-free rolls, use gluten-free flour. Look for a blend that's good for baking. You may need to add more water to the dough, as gluten-free flour absorbs moisture differently. Follow the same steps, and you’ll have tasty rolls that everyone can enjoy!
Storage Info
Best Practices for Storing Rolls
To keep your Garlic Parmesan Knotted Rolls fresh, store them in an airtight container. This helps prevent them from drying out. You can also wrap each roll in plastic wrap before placing them in the container. Storing them this way keeps the rolls soft. If you plan to eat them in a few days, keep them at room temperature. For longer storage, place them in the fridge.
Reheating Instructions
When it's time to enjoy your rolls again, reheating is easy. Preheat your oven to 350°F. Place the rolls on a baking sheet and cover them with foil. Heat for about 10-15 minutes. This warms them through and keeps them soft. If you prefer, you can use a microwave. Heat each roll for about 10-15 seconds. Just be careful not to overheat, as they can become tough.
Freezing for Later Use
If you want to save some rolls for later, freezing is a great option. Make sure the rolls are completely cool before freezing. Wrap each roll in plastic wrap and then in aluminum foil. Place them in a freezer-safe bag or container. They will stay fresh for up to three months. To use, take them out and thaw in the fridge overnight. Reheat as described above for the best taste.
FAQs
How do I know when the rolls are done baking?
You can tell the rolls are done when they turn golden brown. The smell will be amazing! You should also tap the bottom of a roll. If it sounds hollow, it's ready. For best results, use an oven thermometer to check the heat. Remember to bake them at 375°F (190°C) for 15-20 minutes.
Can I make the dough in advance?
Yes, you can make the dough in advance. After kneading, let it rise as instructed. Then, cover it and place it in the fridge. It will stay fresh for up to 24 hours. When you're ready, take it out and let it warm up for about 30 minutes. Then shape the rolls as normal.
What can I serve with Garlic Parmesan Knotted Rolls?
These rolls pair well with many dishes. You can serve them with marinara sauce for dipping. They also go great with soups like minestrone or tomato. For a fun twist, try them with garlic butter or a fresh salad. They add a nice touch to any meal.
Now you have all the details to make delicious rolls. We covered ingredients, including measurements and substitutions. You learned the step-by-step process from mixing to baking. Tips helped you avoid mistakes while achieving great texture. Variations added options like cheese and gluten-free choices. Finally, storage and reheating tips ensure your rolls stay fresh.
Keep these points in mind for tasty homemade rolls every time. Enjoy your baking journey!