


LATEST RECIPES


LET'S GET COOKING!
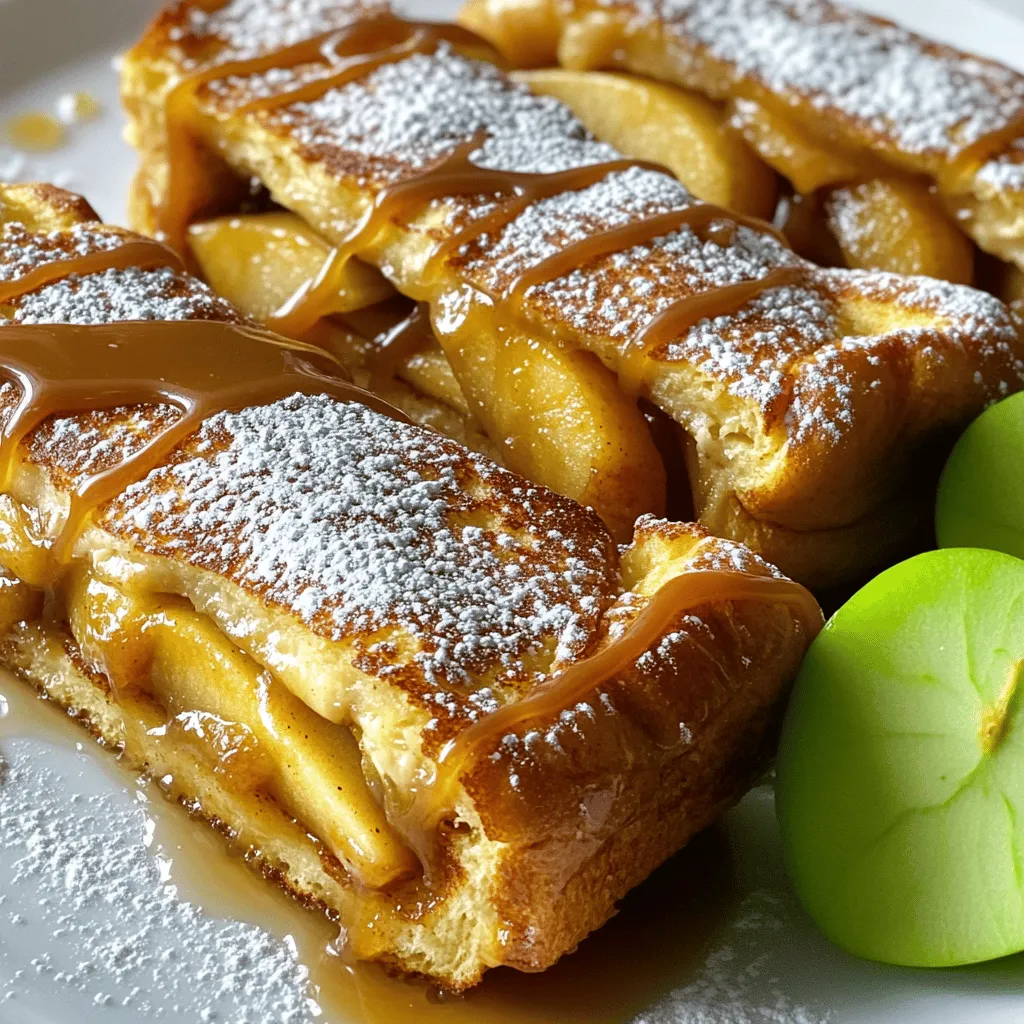
Caramel Apple Stuffed French Toast Delightful Treat
Get ready to indulge in a breakfast treat that combines sweet and savory! This Caramel Apple Stuffed French Toast is an amazing way to start...
Read Full Recipe →