


LATEST RECIPES


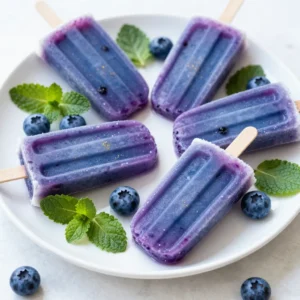


LET'S GET COOKING!
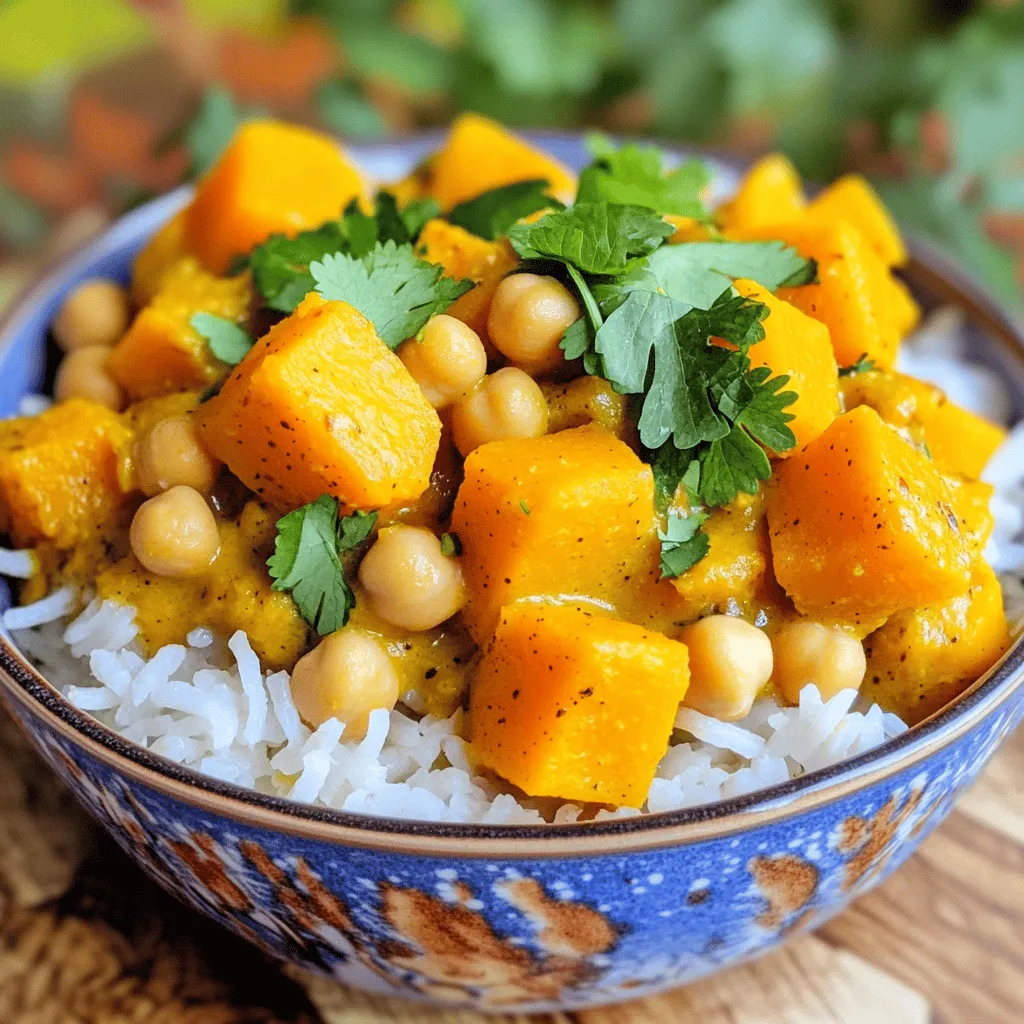
Slow Cooker Butternut Squash and Chickpea Curry Delight
Looking for a hearty meal that’s easy to make? My Slow Cooker Butternut Squash and Chickpea Curry is your answer! This dish is perfect for...
Read Full Recipe →