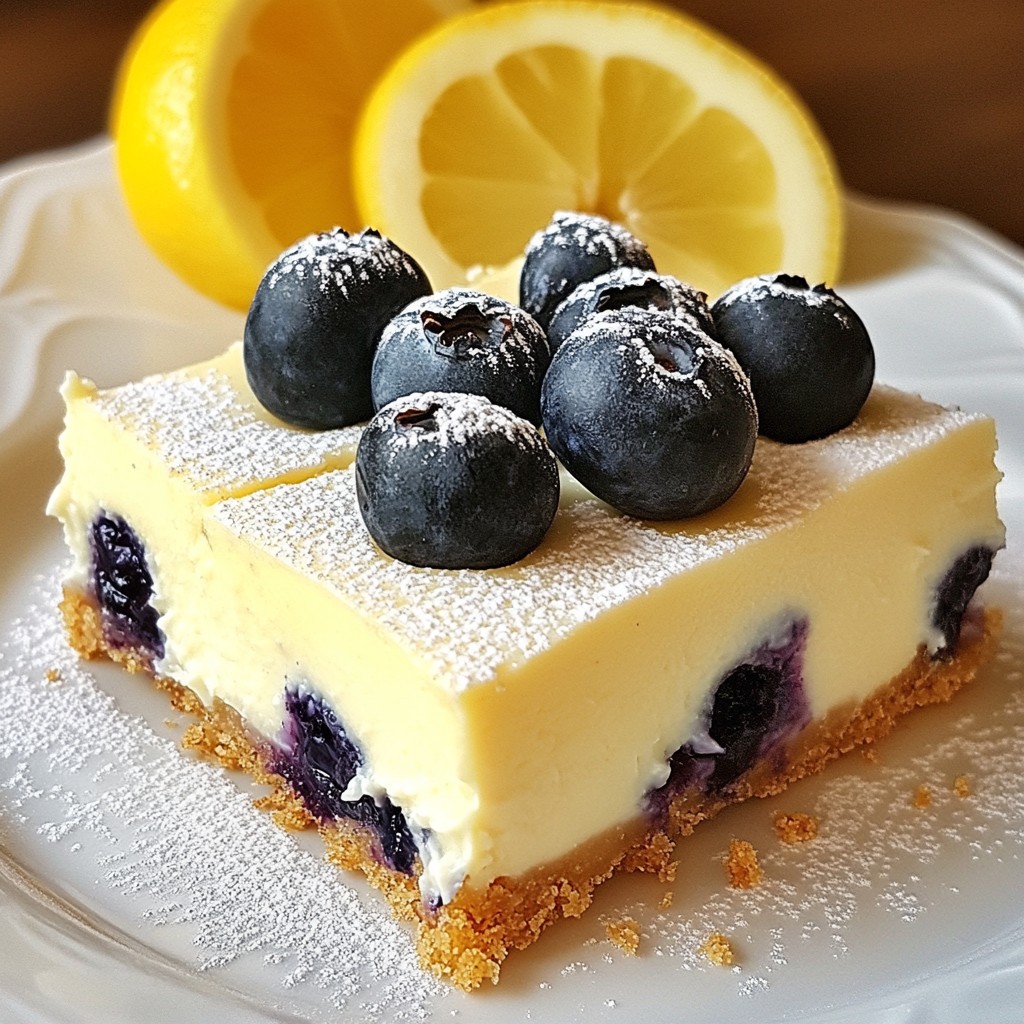
Looking for a sweet treat that brightens your day? Try my Lemon Blueberry Cheesecake Bars! With creamy filling, a buttery crust, and fresh blueberries, they pack a flavorful punch. Plus, they are easy to make! In this post, I'll guide you through every step to create these delicious bars. Get ready to wow your friends and family with this exciting dessert idea! Let's dive into the details!
Why I Love This Recipe
- Refreshing Flavor: The combination of lemon and blueberries creates a delightful balance of tartness and sweetness that is perfect for any occasion.
- Easy to Make: This recipe is straightforward and requires minimal ingredients, making it accessible for bakers of all skill levels.
- Perfect for Sharing: These cheesecake bars cut easily into squares, making them ideal for parties, picnics, or family gatherings.
- Gorgeous Presentation: The vibrant colors of the blueberries against the creamy cheesecake make for an eye-catching dessert that impresses.
Ingredients
Main Ingredients
- 1 ½ cups crushed graham crackers
- ½ cup unsalted butter, melted
- 2 cups cream cheese, softened
- 1 cup granulated sugar
- 2 large eggs
- 1 teaspoon vanilla extract
- Zest of 1 lemon
- ⅓ cup fresh lemon juice
- 1 cup fresh blueberries
- Optional: powdered sugar for dusting
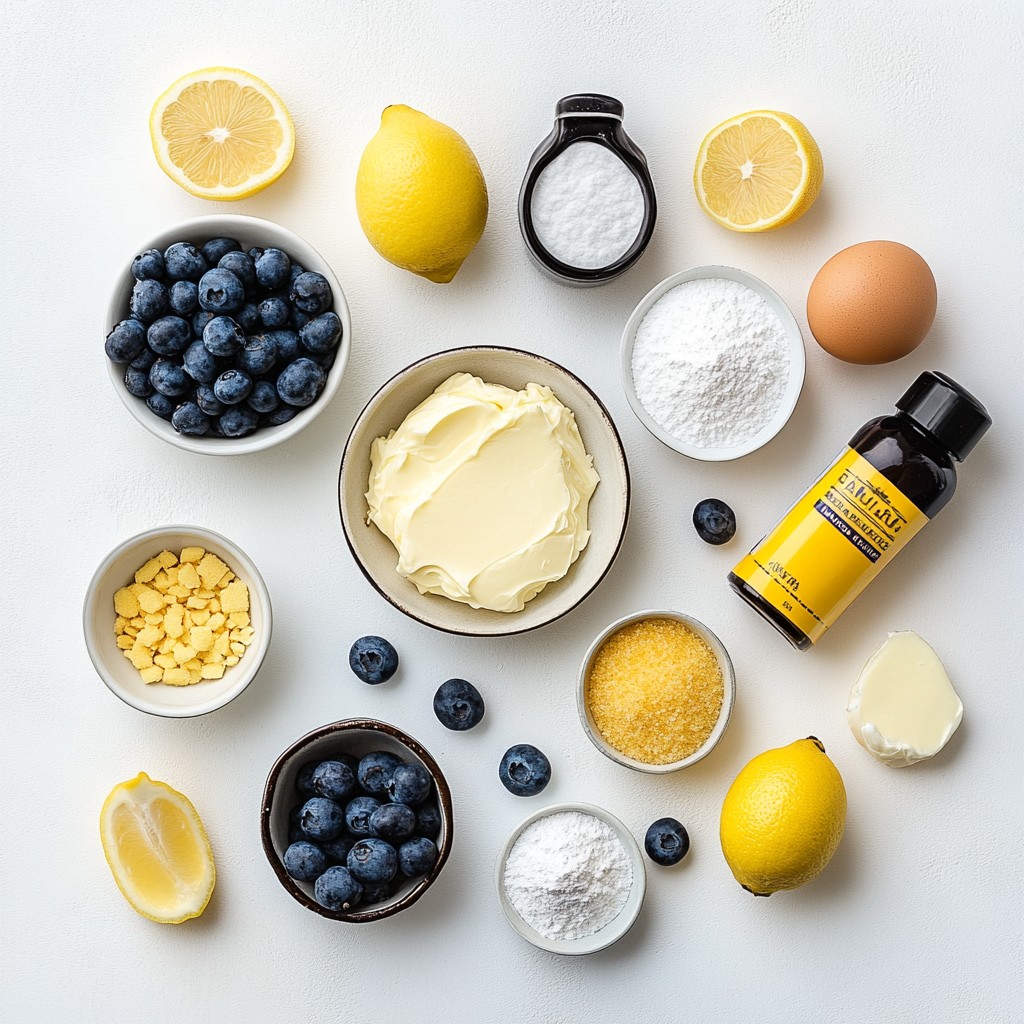
For this recipe, I love using simple ingredients that create a big impact. The crust is made from crushed graham crackers and melted unsalted butter. This mix forms a buttery base that holds the creamy filling.
The filling is where the magic happens. You need cream cheese for that rich texture and taste. The granulated sugar adds sweetness, while the eggs help bind everything together.
Lemon zest and lemon juice brighten the flavor. They give your bars a fresh, zesty kick. Fresh blueberries add a burst of sweetness and color. You can also dust with powdered sugar for a beautiful finish.
These ingredients work together to create a dessert that is both creamy and fruity. You'll enjoy every bite!
Step-by-Step Instructions
Preparation of the Crust
- Preheat your oven to 325°F (163°C). Line an 8x8-inch baking pan with parchment paper. This paper helps lift the bars out later.
- Combine 1 ½ cups of crushed graham crackers with ½ cup of melted unsalted butter in a mixing bowl. Stir until it looks like wet sand. Press this mixture firmly into the bottom of the pan to form a crust.
- Bake this crust for about 10 minutes until it turns lightly golden. After baking, let it cool while you make the filling.
Making the Cheesecake Filling
- In a large bowl, beat 2 cups of softened cream cheese with an electric mixer until it’s smooth. This should take about 2-3 minutes.
- Gradually add in 1 cup of granulated sugar while mixing. Keep beating until it is well combined.
- Add 2 large eggs one at a time. Mix on low speed until each egg is just combined.
- Stir in 1 teaspoon of vanilla extract, the zest of 1 lemon, and ⅓ cup of fresh lemon juice. Mix gently until everything is well combined.
- Carefully fold in 1 cup of fresh blueberries, being gentle to avoid breaking them.
Baking the Bars
- Pour the cheesecake filling over the cooled crust. Spread it out evenly with a spatula.
- Bake in the oven for 25-30 minutes. Check for doneness; the edges should be set, but the center should still jiggle a bit.
- Remove the bars from the oven and let them cool at room temperature for about an hour. Next, refrigerate for at least 2 hours to let them fully set.
Tips & Tricks
Achieving the Perfect Texture
To get a smooth texture, beat the cream cheese well. Start with room temperature cream cheese. This makes it easier to blend. Use a hand mixer or stand mixer for the best results. Mix for about 2-3 minutes until creamy.
Do not overmix the batter once you add eggs. Overmixing can make the bars dense. Mix just until you can’t see the egg anymore.
Baking Advice
Always check for doneness before pulling the bars out of the oven. The edges should be set, but the center will look slightly jiggly. This means the bars will firm up as they cool.
Ovens can vary, so adjust baking times as needed. If your oven runs hot, check the bars a bit early. If they need more time, add it in small increments.
Presentation and Serving Suggestions
For a beautiful presentation, serve the cheesecake bars on a nice platter. You can use a sharp knife to cut the bars into even squares. Dust them with powdered sugar for a sweet touch.
Add extra blueberries and a sprig of mint for garnish. This adds color and freshness, making your dessert pop.
Pro Tips
- Chill Your Cream Cheese: Ensure your cream cheese is softened fully at room temperature for a smoother filling, avoiding lumps in your cheesecake bars.
- Fresh Blueberries: Use fresh blueberries for the best flavor and texture; frozen ones can make the filling watery and affect the consistency.
- Don’t Overbake: Keep an eye on the baking time; the center should still have a slight jiggle when you take it out of the oven to ensure a creamy texture.
- Let It Set: Allow the cheesecake bars to chill in the fridge for at least 2 hours before slicing; this helps them set properly and makes for cleaner cuts.
Variations
Flavor Adaptations
You can easily change the flavor of lemon blueberry cheesecake bars. Swap blueberries for other fruits. Strawberries, raspberries, or peaches work well. Each fruit adds a new twist to the bars. You can also add chocolate chips for a sweet touch. Just sprinkle them in when you fold in the fruits. If you want more zing, add zest from other citrus fruits. Lime or orange zest can brighten the flavor even more.
Dietary Adjustments
If you need a gluten-free option, use gluten-free graham crackers. They make a great crust that holds up well. You can also try almond flour for a nutty flavor. For a vegan version, swap cream cheese for a plant-based alternative. Look for vegan cream cheese at the store. Use flax eggs or applesauce instead of regular eggs. This way, everyone can enjoy these tasty bars, no matter their diet!
Storage Info
Storing Leftovers
To keep your Lemon Blueberry Cheesecake Bars fresh, store them properly. First, place the bars in a sealed container. If you don’t have one, cover them tightly with plastic wrap. Refrigerate the bars for up to five days. This helps maintain their creamy texture and flavor.
If you want to keep them longer, freezing is a great option. Slice the bars into squares, then wrap each piece in plastic wrap. Next, place the wrapped bars in a freezer-safe container or bag. They can last up to three months in the freezer.
Reheating Instructions
When you're ready to enjoy your frozen bars, defrost them in the fridge overnight. This method keeps them from getting too soft. If you need them quickly, you can leave them at room temperature for about an hour.
To reheat the bars, you can use the microwave. Heat for 10-15 seconds on low power. Check to see if they are warm. If not, heat in small increments. This keeps the texture nice and creamy. Enjoy your delicious bars warm or chilled!
FAQs
Common Questions
Can I use frozen blueberries instead of fresh? Yes, you can use frozen blueberries. They work well in the recipe. Just remember to add them straight from the freezer. This helps keep the cheesecake from getting too watery.
How long do these cheesecake bars last in the fridge? These cheesecake bars last about five days in the fridge. Store them in an airtight container to keep them fresh.
Can I make these bars ahead of time? Absolutely! You can make them a day or two in advance. Just let them chill in the fridge. They taste even better after a day.
Baking & Recipe Queries
What can I substitute for cream cheese? You can use mascarpone cheese or ricotta cheese. Both give a creamy texture but may change the taste slightly.
How can I make the crust more flavorful? Try adding a pinch of cinnamon or a bit of sugar to the crust mix. You can also mix in some chopped nuts for crunch. This adds great flavor and texture.
This blog post covered how to make delicious cheesecake bars from scratch. You learned about the crust, filling, and baking steps. I shared tips for a perfect texture and presentation ideas. You can also try different flavors and dietary options.
Now you’re ready to impress anyone with these tasty bars. Enjoy your baking journey and share your creations! Making these bars is fun and rewarding.