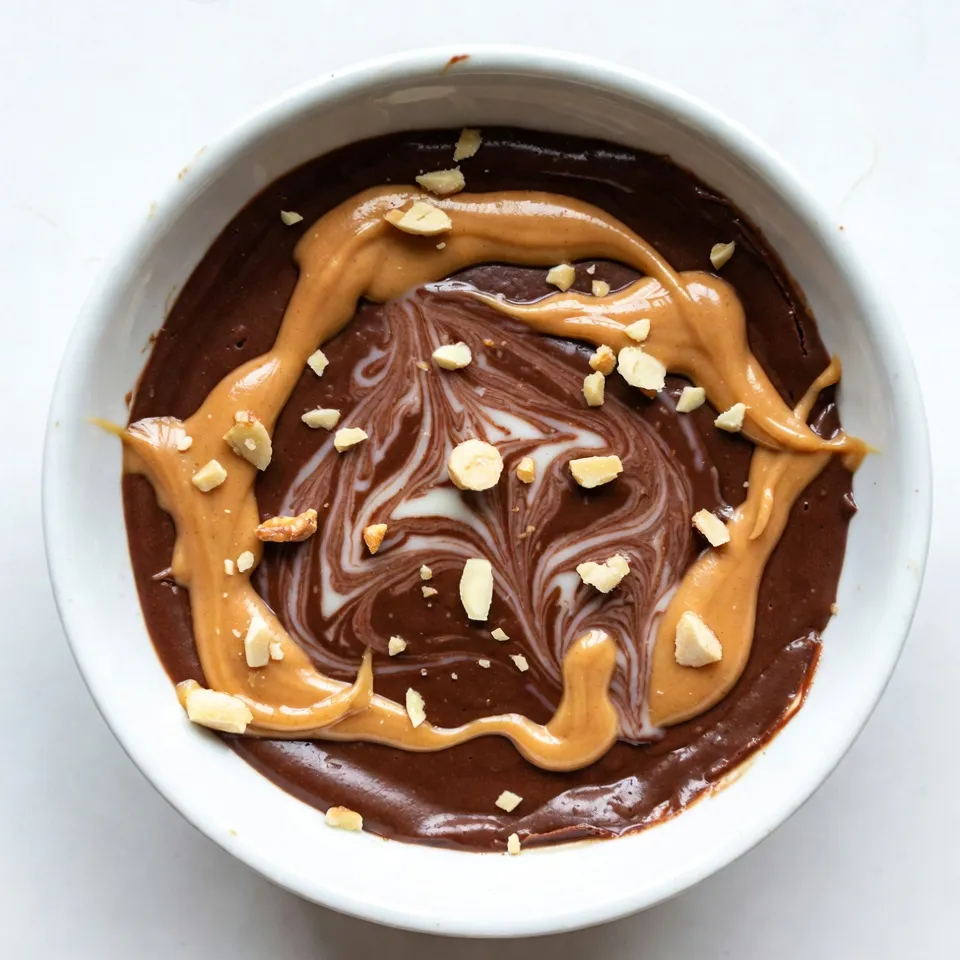
Are you ready to indulge in a sweet creation that combines rich chocolate with creamy peanut butter? This Chocolate Peanut Butter Swirl Fudge is an easy, no-bake treat that will leave your taste buds dancing. With just a handful of simple ingredients and straightforward steps, you can whip up this delicious fudge that’s perfect for any occasion. Let’s dive into this sweet journey and make your dessert dreams come true!
Why I Love This Recipe
- Decadent Flavor: This fudge combines rich chocolate with creamy peanut butter for a deliciously indulgent treat.
- Easy to Make: With just a few simple ingredients and quick steps, you can whip up a batch in no time.
- Customizable: You can add your favorite nuts or toppings for an extra crunch and flavor twist.
- Perfect for Sharing: Cut into squares, this fudge is an ideal sweet for gatherings or as a thoughtful gift.
Ingredients
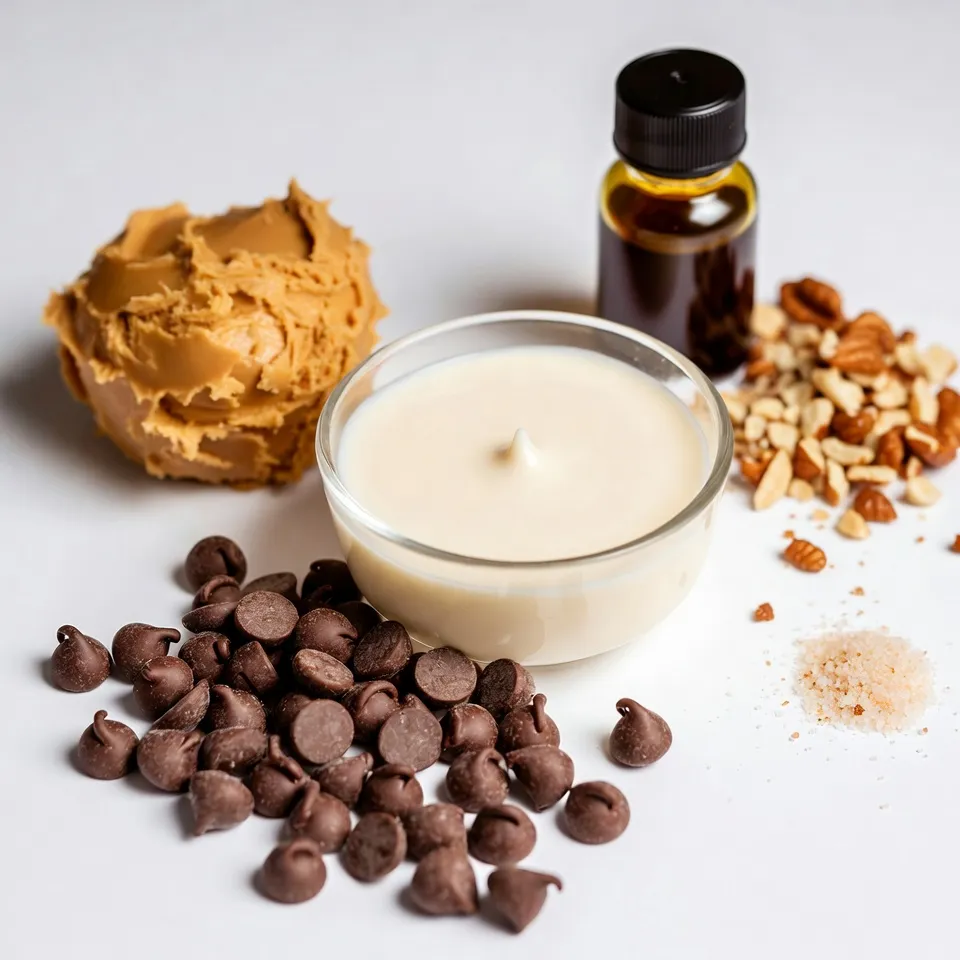
To make Chocolate Peanut Butter Swirl Fudge, gather these simple ingredients:
– 2 cups semi-sweet chocolate chips
– 1 cup sweetened condensed milk
– 1/2 cup creamy peanut butter
– 1 teaspoon vanilla extract
– 1/4 teaspoon salt
– Optional topping: Chopped nuts
These ingredients create a rich and creamy fudge. The semi-sweet chocolate chips offer a nice balance of sweetness. Sweetened condensed milk adds creaminess and helps the fudge set. Creamy peanut butter gives each bite a nutty flavor. Vanilla extract enhances the overall taste. A pinch of salt helps to bring out the sweetness. If you want a crunch, sprinkle some chopped nuts on top.
This recipe is very flexible. You can easily adjust the amount of peanut butter or add fun toppings. Make sure to use good-quality ingredients for the best flavor. Happy cooking!
Step-by-Step Instructions
Preparing the Pan
To start, you need to line a baking dish. Grab an 8×8 inch dish and cut a piece of parchment paper. Make sure the paper covers the bottom and hangs over the edges. This overhang helps you lift out the fudge later. Parchment paper keeps the fudge from sticking and makes clean-up easy.
Melting the Chocolate
Next, it’s time to melt the chocolate. Use a medium saucepan and set your heat to low. Combine 2 cups of semi-sweet chocolate chips and 1 cup of sweetened condensed milk in the pan. Stir continuously to avoid burning. Keep stirring until the mixture is smooth and creamy.
Creating the Swirl
Now for the fun part! Melt 1/2 cup of creamy peanut butter in a microwave-safe bowl for about 15-20 seconds. It should be pourable. Drizzle half the melted peanut butter over the chocolate layer you just poured into the pan.
To create the swirl, add the remaining chocolate mixture on top. Then, drizzle the rest of the peanut butter over it. Use a knife or skewer to gently swirl the two together. This creates a beautiful marbled effect that will impress everyone.
Tips & Tricks
Perfecting the Swirl Technique
To achieve the perfect marble effect, you need the right balance. Start by drizzling the peanut butter over the chocolate layer. Use a knife or skewer to swirl but do not overmix. This will keep those pretty swirls visible. A common mistake is to mix too much. This can turn your beautiful design into a solid color.
Ingredient Substitutions
If you want to change the flavor, you can use different chocolates. Dark or milk chocolate can work well. Each option offers a unique taste. You can also switch the peanut butter. Almond butter or cashew butter can add a fun twist. These alternatives will change the taste but keep it creamy.
Serving Suggestions
Pair your fudge with drinks like coffee or milk. The rich flavors balance well. For a fun twist, serve it on a dessert platter. Add fresh fruit or whipped cream for color. You can also cut the fudge into fun shapes for parties. This adds a playful touch to your treat.
Pro Tips
- Use High-Quality Chocolate: The flavor of the fudge heavily relies on the chocolate you use, so opt for high-quality semi-sweet chocolate chips for the best taste.
- Don’t Overheat the Peanut Butter: When melting the peanut butter, heat it just enough to make it pourable. Overheating can cause it to become too runny and lose its texture.
- Experiment with Mix-Ins: Feel free to add other mix-ins like crushed pretzels, mini marshmallows, or dried fruit for added texture and flavor.
- Allow Plenty of Chilling Time: For the best texture, ensure you chill the fudge for at least 2 hours. This helps it set properly and makes it easier to cut into squares.
Variations
Adding Flavors
You can spice up your fudge in fun ways. Try adding a pinch of cinnamon for warmth. It gives a cozy feel in every bite. Another great option is espresso powder. It boosts the chocolate flavor, making it richer.
You can also use extracts to change the taste. Almond extract adds a sweet, nutty note. Hazelnut extract gives a unique twist. Just remember, a little goes a long way. Start with a few drops and taste as you go.
Topping Options
Toppings can take your fudge to the next level. Sea salt adds a nice contrast to the sweetness. It brings out the chocolate flavor even more. Sprinkles can add color and fun, especially for kids.
You can layer ingredients too. Try adding chopped nuts between the chocolate and peanut butter layers. This adds crunch and flavor. Just make sure to spread them evenly for the best mix.
Dietary Variations
You can make this fudge fit many diets. For a dairy-free version, swap sweetened condensed milk for coconut milk or almond milk. Use dairy-free chocolate chips too.
If you want a vegan option, the same swaps work well. You can also make it keto-friendly. Use sugar-free chocolate chips and a low-carb sweetener. This way, everyone can enjoy this treat!
Storage Info
How to Store Fudge
To keep your fudge fresh, store it in an airtight container. This helps prevent it from drying out. Place the container in the refrigerator. The cool air helps maintain the fudge’s texture and flavor. Make sure to let the fudge cool completely before storing it. This will stop moisture from building up. You can enjoy this treat for up to two weeks when stored correctly.
Freezing Fudge
You can freeze fudge if you want to save some for later. Cut the fudge into squares before freezing. Wrap each piece in plastic wrap. Then, place them in a freezer-safe bag or container. This will help keep them fresh. Fudge can be frozen for about three months. When you are ready to eat it, let it thaw in the fridge. This will help it regain its smooth texture.
Shelf Life
Homemade fudge has a good shelf life. When stored properly, it lasts for two weeks in the fridge. If you notice any signs of spoilage, it’s best to throw it away. Look for changes in color or texture. If it smells off or develops a hard crust, it has likely gone bad. Always trust your senses when checking if your fudge is still good to enjoy.
FAQs
How long does it take to make Chocolate Peanut Butter Swirl Fudge?
Making this fudge takes about 15 minutes to prepare. You will need at least 2 hours to chill it. This gives your fudge time to set and become firm.
Can I use crunchy peanut butter instead?
Yes, crunchy peanut butter can work well! It adds a nice texture. You will get little bits of peanuts in every bite. This can change the look of the swirls, making them less smooth. If you like a bit of crunch, go for it!
What can I substitute for sweetened condensed milk?
You can use coconut cream if you want a dairy-free option. A mix of milk and sugar can also work. This will change the taste a bit. You can try adding a little more sugar to balance it. If you need to avoid dairy, look for sweetened condensed milk made from plant-based sources.
This blog post shared a simple recipe for Chocolate Peanut Butter Swirl Fudge. You learned about the ingredients, step-by-step instructions, tips for perfecting the swirl, and ways to store your fudge. I hope these insights inspire you to get creative in your kitchen. Remember, you can customize the fudge with flavors and toppings to suit your taste. Enjoy the process of making this treat and sharing it with other