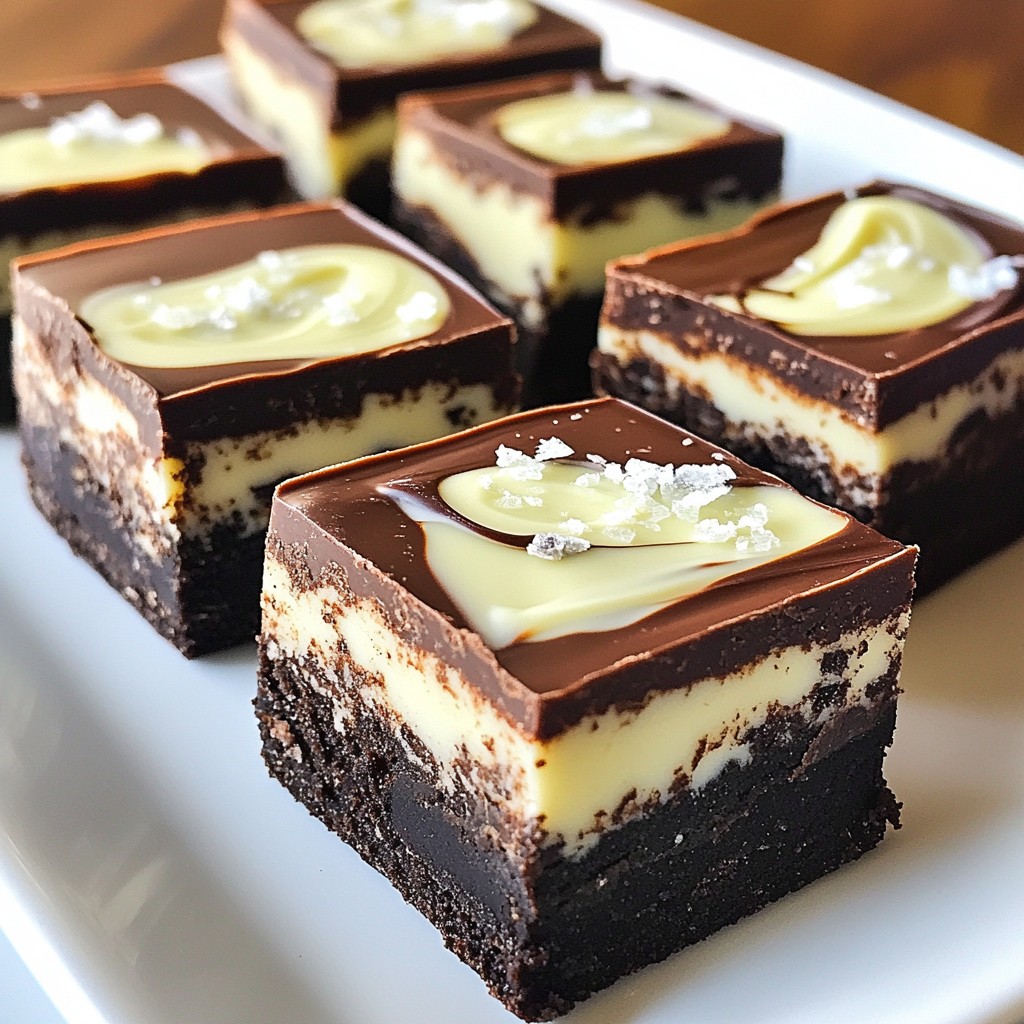
Are you ready to indulge in a sweet delight? Chocolate Mint Oreo Fudge is a rich and creamy treat that will amaze your taste buds! This easy recipe blends smooth chocolate with minty crunch, making it the perfect dessert for any occasion. In this post, I’ll guide you through the simple steps to whip up this delicious fudge, plus tips for making it your own. Let’s dive in and start creating this mouth-watering masterpiece!
Why I Love This Recipe
- Indulgent Flavor: This fudge combines the rich taste of semisweet chocolate with refreshing mint and crunchy Oreo pieces, creating a deliciously indulgent treat.
- Easy to Make: With simple ingredients and straightforward steps, this recipe is perfect for bakers of all skill levels, making it a stress-free dessert option.
- Perfect for Sharing: With 16 squares in one batch, this fudge is ideal for parties, gatherings, or as a thoughtful homemade gift for friends and family.
- Customizable: You can easily adjust the mint flavor or add toppings, such as extra crushed Oreos or colorful sprinkles, to suit your taste preferences.
Ingredients
List of Required Ingredients
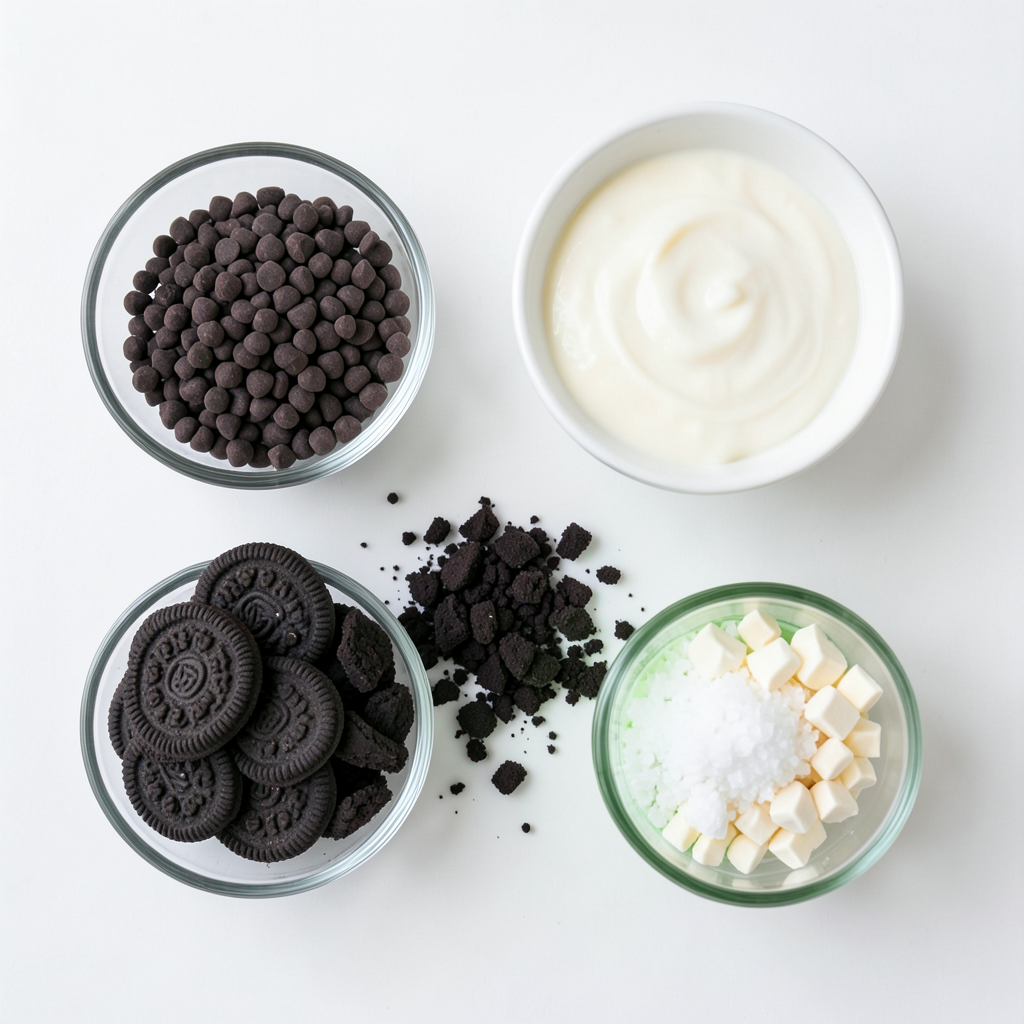
To make this rich and creamy treat, gather these key ingredients:
- 2 cups semisweet chocolate chips
- 1 cup sweetened condensed milk
- 1 teaspoon peppermint extract
- 2 cups crushed Oreo cookies (about 16 cookies)
- 1 cup white chocolate chips
Optional Ingredients for Customization
You can add some fun touches with these extras:
- Green food coloring for a festive look
- Sea salt for a hint of flavor
Measurement Conversions
If you need to adjust serving sizes, here are some quick conversions:
- 1 cup = 8 ounces
- 2 cups = 16 ounces
- 1 teaspoon = 5 milliliters
- 1 tablespoon = 15 milliliters
Feel free to mix and match these ingredients to suit your taste!
Step-by-Step Instructions
Detailed Instructions for Preparation
1. Start by taking a medium saucepan. Place it over low heat.
2. Add 2 cups of semisweet chocolate chips and 1 cup of sweetened condensed milk.
3. Stir the mix continuously. Watch as the chocolate melts. It must be smooth.
4. Once melted, remove the pan from heat. Stir in 1 teaspoon of peppermint extract.
5. Next, fold in 2 cups of crushed Oreo cookies. Mix until evenly spread.
6. Take an 8x8 inch baking dish. Line it with parchment paper. Leave some overhang.
7. Pour the chocolate-Oreo mix into the dish. Spread it to all corners evenly.
8. Now, melt 1 cup of white chocolate chips in a bowl. Use the microwave.
9. Heat in 30-second bursts. Stir after each burst until it is smooth.
10. If you want, add green food coloring for a minty look. Just a few drops.
11. Pour the melted white chocolate over the fudge. Use a spatula to spread it.
12. Gently swirl the white chocolate into the fudge. This creates a nice marbled look.
13. For a fancy touch, sprinkle a pinch of sea salt on top.
14. Place the fudge in the fridge for at least 2 hours. It needs to set.
15. Once set, use the parchment paper to lift it out. Cut into squares.
Tips for Melting Chocolate Safely
- Always use low heat. High heat can burn the chocolate.
- Stir often to prevent sticking. This keeps the chocolate smooth.
- Use a microwave-safe bowl for melting. This makes it easier.
- Make sure the bowl is dry. Water can cause chocolate to seize.
Techniques for Achieving the Perfect Fudge Consistency
- Make sure your chocolate is fully melted. A smooth mix is key.
- Fold in cookies gently. This keeps the fudge light.
- Let the fudge cool at room temp before refrigerating. This helps it set better.
- If it seems too soft, refrigerate longer. It should be firm but creamy.
Tips & Tricks
How to Customize Flavors
You can change the mint flavor to suit your taste. Try using different extracts, like vanilla or almond. If you want a richer taste, add a bit of espresso powder. Just mix it in with the chocolate. For a fun twist, use flavored Oreos, like peanut butter or red velvet. Each type will give your fudge a new taste.
Best Practices for Making Fudge
To make perfect fudge, keep a few tips in mind. First, always melt chocolate slowly. Use low heat to avoid burning. Stir the mixture often for a smooth finish. Make sure to measure your ingredients carefully. This helps keep the right texture. Line your baking dish with parchment paper. This makes it easy to remove the fudge later.
Common Mistakes to Avoid
Avoid rushing the cooling process. Let your fudge chill for at least two hours. If you cut it too soon, it may fall apart. Another common mistake is not mixing well. Make sure the cookies are evenly spread in the chocolate mix. Lastly, don’t skip the salt. A small sprinkle adds depth to the taste. Following these tips will help you create the best fudge!
Pro Tips
- Use Quality Chocolate: Opt for high-quality semisweet chocolate chips for a richer flavor and smoother texture in your fudge.
- Chill Your Tools: Chill your mixing bowl and spatula in the freezer for a few minutes before making the fudge to help it set more quickly.
- Customize Your Swirls: Experiment with different colors and flavors by adding a few drops of food coloring or flavored extracts to the white chocolate layer.
- Perfect Cutting Tips: To achieve clean cuts, use a sharp knife dipped in hot water and wiped dry before slicing the fudge into squares.
Variations
Alternative Ingredients for Dietary Preferences
You can swap ingredients to fit your needs. For a dairy-free option, use coconut milk instead of sweetened condensed milk. Dark chocolate chips work well if you want less sugar. You can also use gluten-free Oreo cookies for a gluten-free treat.
Creative Flavor Twists
Mix it up with different flavors! Try using almond extract instead of peppermint for a nutty taste. Want to add some crunch? Toss in chopped nuts or pretzels. You can even add a splash of espresso for a coffee kick.
Seasonal and Holiday Variations
Make this fudge special for any season. For Christmas, add red and green sprinkles. During Halloween, use orange food coloring instead of green. In the summer, mix in fresh mint leaves for a bright twist. These little changes can really make your fudge stand out!
Storage Info
How to Store Chocolate Mint Oreo Fudge
To keep your fudge fresh, place it in an airtight container. This will help it stay moist and tasty. If you have a lot of fudge, you can stack squares with parchment paper between them. This keeps them from sticking together. Always store the fudge in the fridge. This helps it stay firm and delicious.
Shelf Life and Freezing Tips
Chocolate Mint Oreo Fudge can last up to two weeks in the fridge. If you want to keep it longer, you can freeze it. Wrap the fudge in plastic wrap and then place it in a freezer bag. It can stay good for up to three months in the freezer. When you're ready to eat it, thaw it in the fridge overnight.
Reheating and Serving Suggestions
You don’t really need to reheat fudge. It’s best served cold or at room temperature. If you want a warm treat, you can microwave a square for about 10 to 15 seconds. This melts it just enough to enjoy. You can serve the fudge plain or add toppings like whipped cream or mint leaves for a touch of fun.
FAQs
What is the best type of chocolate for fudge?
The best type of chocolate for fudge is semisweet chocolate. It gives a rich, sweet taste. I prefer using semisweet chocolate chips for ease and melting. You can also mix in some milk chocolate for a creamier flavor.
Can I make this fudge ahead of time?
Yes, you can make this fudge ahead of time. I often prepare it a day or two before serving. Just store it in the fridge in an airtight container. It stays fresh and tasty!
How do I know when the fudge is set?
You will know the fudge is set when it feels firm to the touch. It should not be sticky or soft. Refrigerating for at least two hours usually does the trick. For best results, let it cool completely before cutting.
Can I use different types of cookies in this recipe?
Absolutely! You can use any cookies you like. Thin Mints or even chocolate chip cookies work well. Just crush them the same way as the Oreos. This will give your fudge a unique taste.
What can I do with leftover fudge?
If you have leftover fudge, store it in an airtight container. You can also freeze it for later. Cut it into small pieces for a quick treat. Or, mix it into ice cream for a delicious dessert!
You learned about making delicious fudge and how to choose ingredients. We covered step-by-step instructions, tips for perfect texture, and ways to add fun flavors. You also saw how to store fudge well and answered some common questions. With this guide, you can make fudge that impresses everyone. Enjoy creating your own tasty treats!