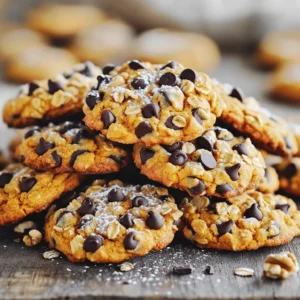
Looking for a tasty treat that’s also healthy? You’ve found it! My Chocolate Chip Pumpkin Oat Cookies are a perfect mix of flavors and nutrition. These cookies won’t just satisfy your sweet tooth; they’ll also fuel your day. Whether you’re a busy parent or a health-conscious snack lover, you’ll want to keep reading for easy tips and tricks to make these delightful cookies right at home!
Ingredients
List of Ingredients
– 1 cup canned pumpkin puree
– 1/2 cup brown sugar
– 1/4 cup granulated sugar
– 1/2 cup unsweetened applesauce
– 1/2 cup peanut butter (or almond butter for a nut-free option)
– 1 teaspoon vanilla extract
– 1 1/2 cups rolled oats
– 1 cup all-purpose flour (or gluten-free flour)
– 1 teaspoon baking soda
– 1 teaspoon pumpkin pie spice
– 1/2 teaspoon salt
– 1 cup chocolate chips (dark or semi-sweet)
– 1/2 cup chopped walnuts (optional)
Ingredient Substitutions
You can switch out ingredients for different flavors or dietary needs. For example, use almond butter instead of peanut butter if you want a nut-free option. You can also try maple syrup in place of brown sugar for a richer taste. If you need gluten-free cookies, use gluten-free flour instead of regular flour. Applesauce adds moisture, so you can replace it with mashed banana if you like.
Notes on Ingredient Quality
Using high-quality ingredients will improve the flavor. Choose pure pumpkin puree, not pumpkin pie filling, as it has added sugars. Select dark or semi-sweet chocolate chips for a rich chocolate burst. Fresh oats work better than old ones. They provide a nice texture. Always check the expiration dates for ingredients like baking soda and flour. Fresh ingredients lead to the best cookies!
Step-by-Step Instructions
Prepping the Oven and Baking Sheet
Start by preheating your oven to 350°F (175°C). This step is key for even baking. While the oven heats, grab a baking sheet and line it with parchment paper. This makes for easy cleanup and helps the cookies not stick.
Mixing Wet Ingredients
In a large bowl, mix the following wet ingredients:
– 1 cup canned pumpkin puree
– 1/2 cup brown sugar
– 1/4 cup granulated sugar
– 1/2 cup unsweetened applesauce
– 1/2 cup peanut butter (or almond butter)
– 1 teaspoon vanilla extract
Stir these ingredients until they blend well. The smooth mixture should feel creamy and inviting.
Combining Dry Ingredients
In a separate bowl, whisk together the dry ingredients:
– 1 1/2 cups rolled oats
– 1 cup all-purpose flour (or gluten-free flour)
– 1 teaspoon baking soda
– 1 teaspoon pumpkin pie spice
– 1/2 teaspoon salt
Mix them until they are evenly distributed. This helps the flavors come together in each bite.
Final Dough Assembly
Now, it’s time to combine both mixtures. Gradually add the dry ingredients to the wet mix. Stir gently until just combined. Avoid overmixing, as this can make cookies tough.
Baking the Cookies
Next, fold in:
– 1 cup chocolate chips
– 1/2 cup chopped walnuts (optional)
Using a spoon or a cookie scoop, drop rounded tablespoons of dough onto the prepared baking sheet. Space them about 2 inches apart. Bake in the oven for 12-15 minutes. Look for golden edges while the centers stay soft.
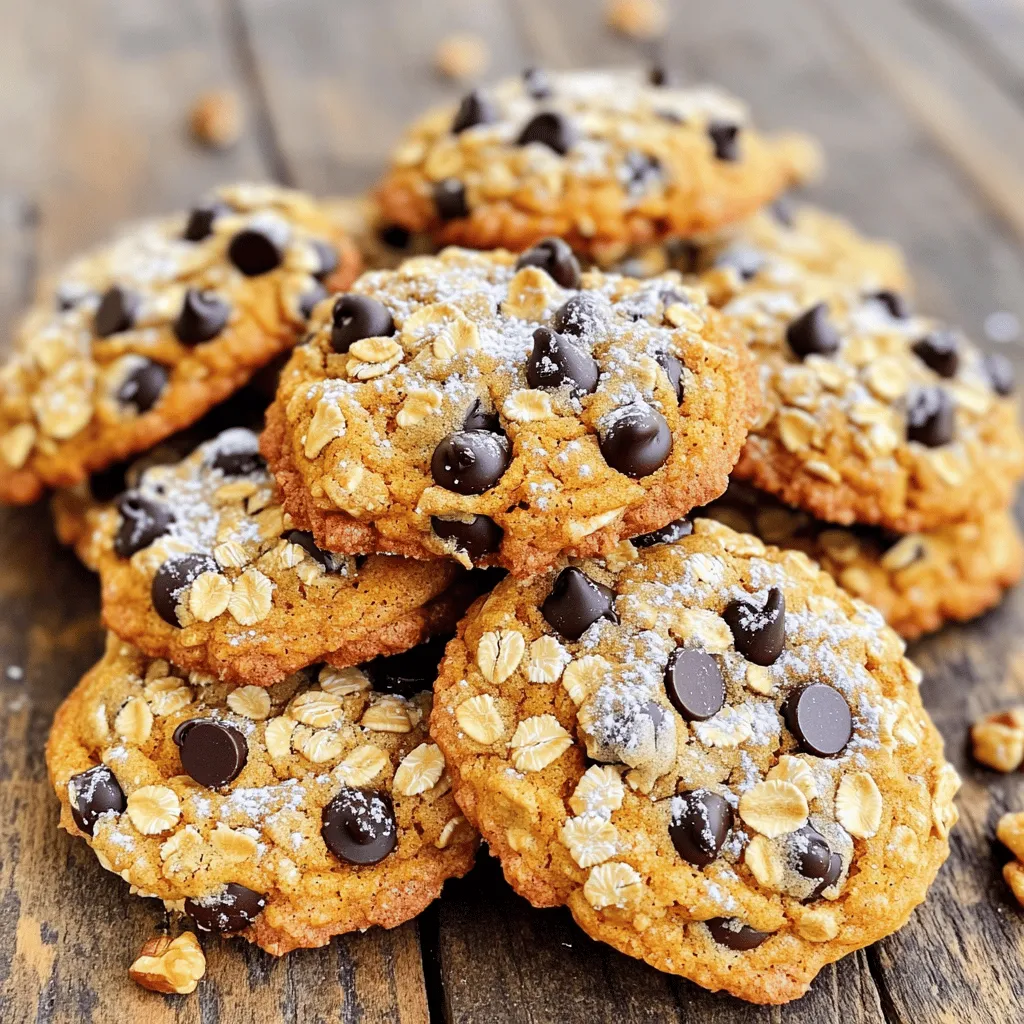
Cooling and Serving
After baking, remove the cookies from the oven. Let them cool on the baking sheet for 5 minutes. This allows them to set. Then, transfer them to a wire rack to cool completely. Serve these cookies stacked on a plate or in a decorative tin. Enjoy them with your favorite drink!
Tips & Tricks
Achieving the Perfect Consistency
To get the best texture, use canned pumpkin puree. It keeps the cookies moist. If you want a thicker cookie, add a bit more flour. Start with one extra tablespoon, then test it. You want the dough to be slightly sticky but not runny. Mixing the wet and dry ingredients gently helps prevent tough cookies.
Baking Times and Textures
Bake your cookies for 12 to 15 minutes. Keep an eye on them. The edges should turn golden brown, while the centers stay soft. If you want a chewier cookie, take them out sooner. For a firmer bite, leave them in a little longer. Remember, they will continue to cook on the baking sheet after you take them out.
Storing and Freezing Cookies
Once cooled, store cookies in an airtight container. They stay fresh for up to a week at room temperature. If you want to freeze them, wrap each cookie tightly. Place them in a freezer bag. They can last for up to three months in the freezer. When you’re ready to eat, just let them thaw at room temperature. Enjoy the freshly baked taste!
Variations
Gluten-Free Option
You can easily make these cookies gluten-free. Just swap the all-purpose flour for a gluten-free flour blend. Look for one that works well in baking. This change keeps your cookies soft and chewy. They still taste great!
Nut-Free Option
If you want a nut-free version, use sunflower seed butter instead of peanut butter. This swap gives a nice flavor without nuts. You can also skip the walnuts if you prefer. Your cookies will still be tasty and satisfying.
Adding Flavor Variations
Want to add some extra flavor? You can mix in spices like cinnamon or nutmeg. A dash of ginger can also bring warmth. If you like, add a splash of almond or coconut extract. These small changes can make your cookies feel new and exciting!
Storage Info
Best Practices for Storing Cookies
To keep your chocolate chip pumpkin oat cookies fresh, store them properly. Use an airtight container. Line the bottom with parchment paper for added freshness. Place a layer of cookies and add another piece of parchment paper between layers. This prevents sticking. Keep the container in a cool, dry place. Avoid direct sunlight to maintain taste and texture.
How Long Do They Last?
When stored correctly, these cookies can last up to one week at room temperature. If you want them to last longer, consider freezing them. In the freezer, they can stay good for up to three months. Just make sure to use a freezer-safe container. Label it with the date to track freshness.
Reheating Tips for Stored Cookies
If you enjoy warm cookies, reheating is easy. Preheat your oven to 300°F (150°C). Place the cookies on a baking sheet. Heat them for about 5 to 10 minutes. This process keeps them soft and chewy. You can also microwave a cookie for 10-15 seconds for a quick warm-up. Enjoy your tasty treat as if they were just baked!
FAQs
Can I use fresh pumpkin instead of canned?
Yes, you can use fresh pumpkin. Just cook and mash it first. Make sure it is smooth. Fresh pumpkin gives a nice flavor but may add more moisture. Adjust your flour if needed.
What can I substitute for peanut butter?
You can use almond butter or sunflower seed butter. These are great nut-free options. You might also try cashew butter. Each gives a different taste but still works well.
How do I know when the cookies are done?
Check the edges of the cookies. They should be golden brown. The centers will look soft. They will firm up as they cool. If you want a chewier cookie, take them out a minute early.
What can I do if my dough is too wet?
If the dough feels too wet, add a bit more flour. Start with one tablespoon at a time. Mix it in gently. Avoid overmixing, or your cookies may turn tough.
Can I make these cookies ahead of time?
Yes, you can make the dough ahead. Chill it in the fridge for up to two days. When ready, just scoop and bake. You can also freeze the dough for later use. Just thaw it before baking.
This blog post covered key aspects of baking cookies. We started with essential ingredients and their quality. Then, we went through each step for perfect cookies. Helpful tips ensured good texture and storage advice kept them fresh. I also shared tasty variations that suit different needs. Remember, great cookies come from good ingredients and care in baking. Explore, experiment, and enjoy your cookies!