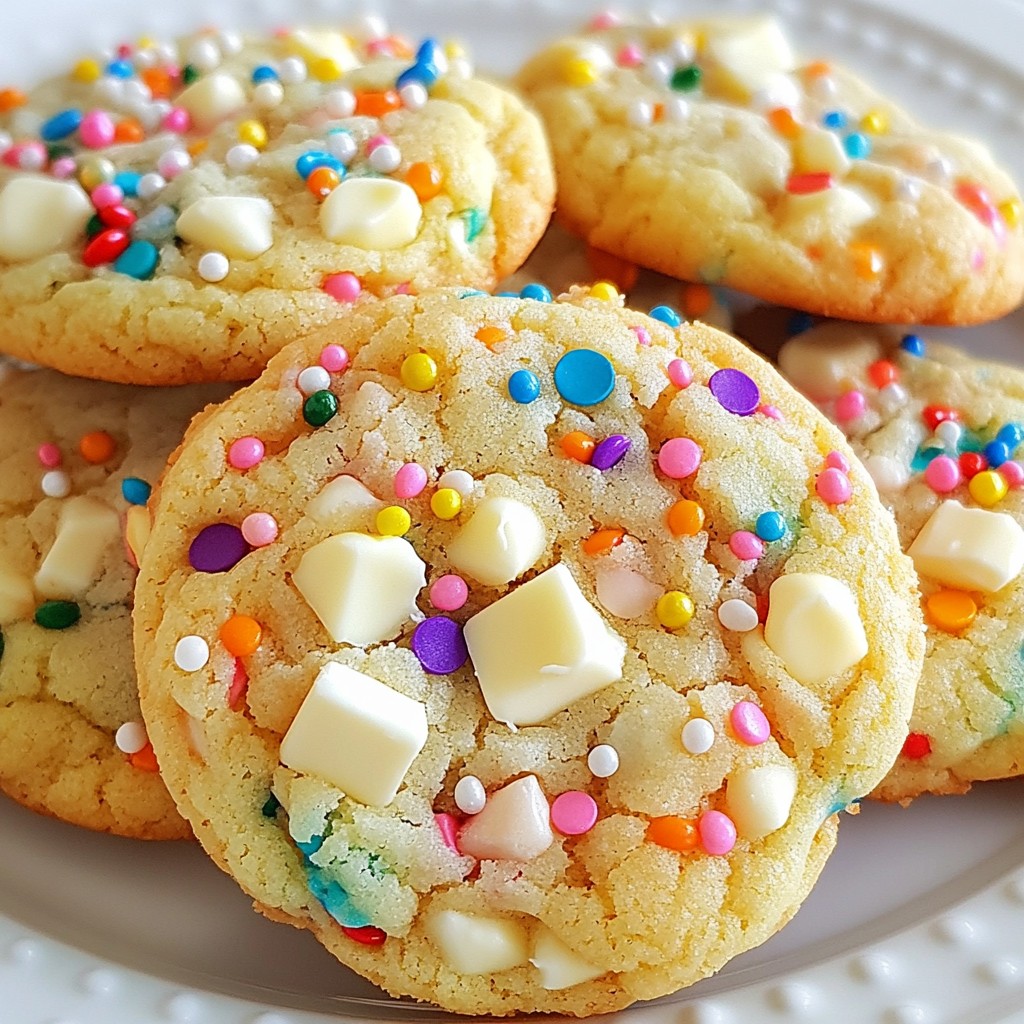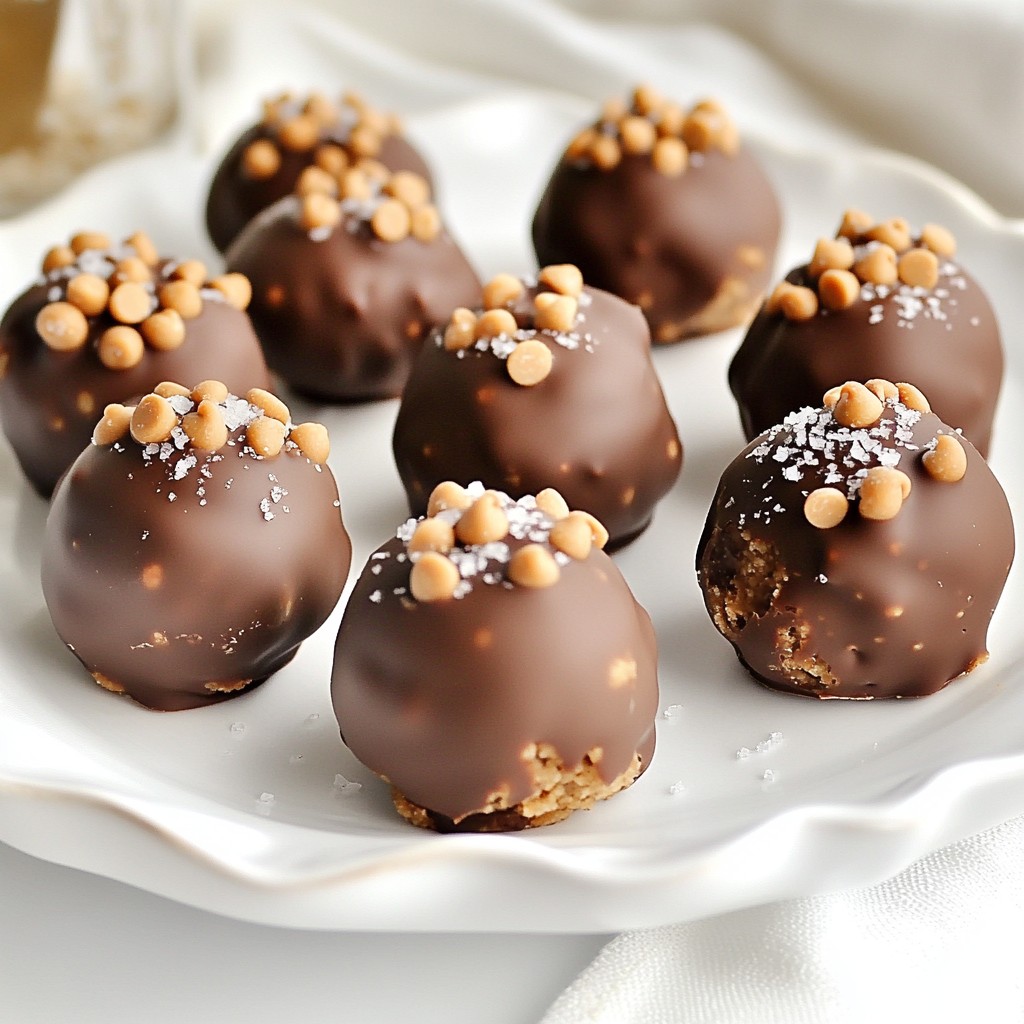
If you love cookie dough, you're in for a treat! My Chocolate Chip Cookie Dough Truffles are simple to make and taste divine. With just a few ingredients and easy steps, you can whip up these delicious bites in no time. Plus, I’ll share tips and fun variations to elevate your truffles. Ready to indulge in this sweet goodness? Let’s get started!
Why I Love This Recipe
- Decadent Flavor: The rich combination of chocolate and cookie dough creates a delightful treat that satisfies every sweet tooth.
- Easy to Make: With simple ingredients and straightforward steps, these truffles are perfect for bakers of all skill levels.
- Customizable: Feel free to experiment with different types of chocolate or add nuts for a personalized twist.
- Perfect for Sharing: With 24 truffles in a batch, they make an excellent choice for parties or gifting to friends and family.
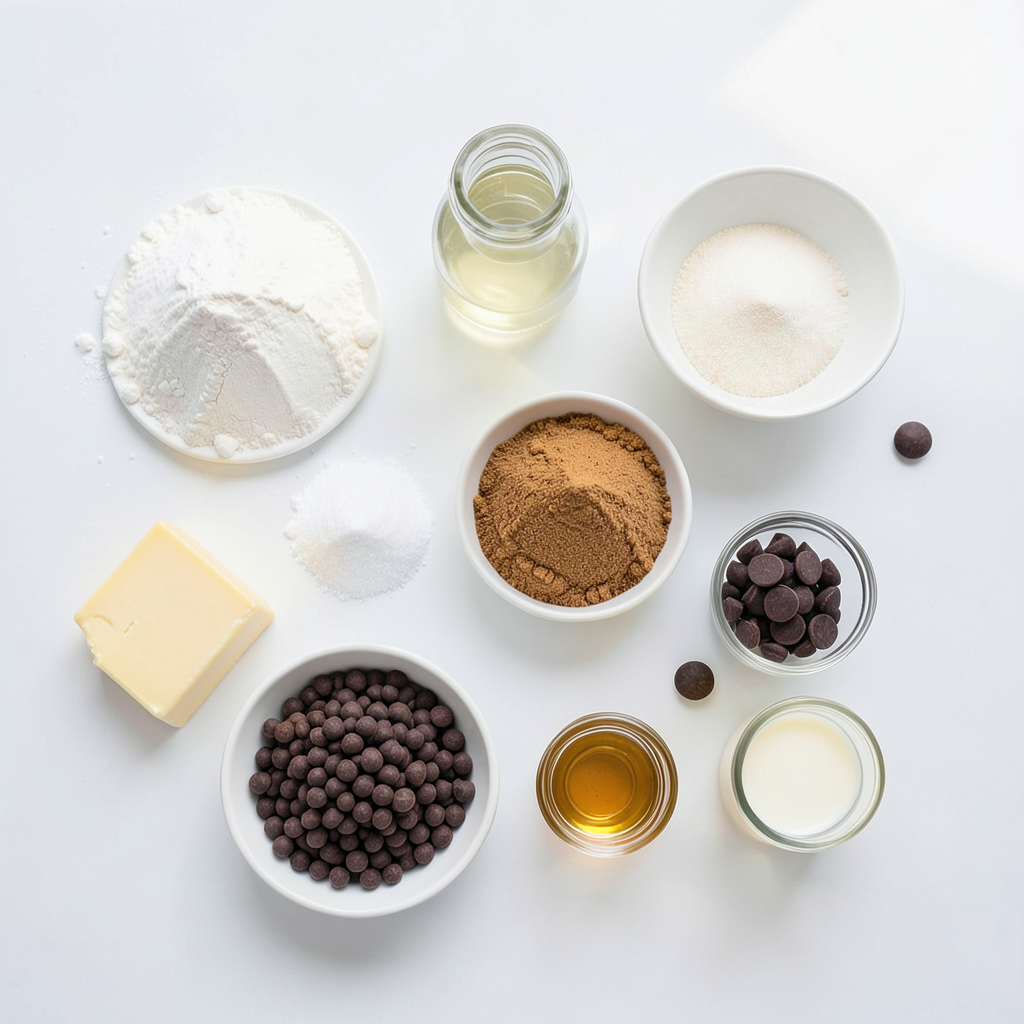
Ingredients
Dry Ingredients
- 1 cup all-purpose flour
- 1/2 teaspoon baking soda
- 1/4 teaspoon salt
For the dry mix, I start with all-purpose flour. It gives the truffles a nice base. The baking soda adds a little lift, while the salt enhances the sweet taste.
Wet Ingredients
- 1/2 cup unsalted butter, softened
- 1/2 cup brown sugar, packed
- 1/4 cup granulated sugar
- 2 tablespoons vanilla extract
- 1/4 cup milk (or dairy-free alternative)
Next, I use softened unsalted butter. This helps create a creamy texture. The brown sugar adds depth, while granulated sugar keeps it sweet. Don’t forget the vanilla extract! It brings out all the flavors. The milk helps bind everything together.
Chocolate Coating Ingredients
- 1 cup dark or milk chocolate chips, for coating
- 1 tablespoon coconut oil (optional, for coating)
For the chocolate coating, I choose dark or milk chocolate chips. Dark chocolate gives a rich taste, while milk chocolate is sweet. The coconut oil is optional but makes the chocolate smooth and shiny.
These ingredients come together to make a treat that is rich and satisfying.
Step-by-Step Instructions
Preparing the Dough
First, gather your ingredients. You need flour, baking soda, salt, butter, brown sugar, granulated sugar, vanilla, mini chocolate chips, and milk. In a medium bowl, whisk together the flour, baking soda, and salt. Set this aside for now. In a larger bowl, cream the softened butter with both sugars. Mix until it's light and fluffy. Then, add in the vanilla and milk. Stir until everything is combined. Gradually mix in the dry ingredients. Do this until just combined. Lastly, fold in the mini chocolate chips. This dough is your base for the truffles.
Forming and Freezing the Dough Balls
Now it’s time to shape your dough. Use a small cookie scoop or your hands. Form balls about one inch wide. Place each ball onto a parchment-lined baking sheet. Once all the dough is shaped, freeze these balls. Let them freeze for at least 30 minutes. This step helps them hold their shape.
Coating the Truffles
While the dough balls are freezing, prepare the chocolate coating. Melt the dark or milk chocolate chips in a microwave-safe bowl. If you wish, add coconut oil for a smoother texture. Heat in 30-second intervals, stirring in between. Once melted and smooth, take the dough balls from the freezer. Dip each one into the melted chocolate. Let any excess chocolate drip off before placing them back on the sheet. For a fun touch, sprinkle some mini chocolate chips on top before the chocolate sets. Finally, refrigerate the truffles for about 20 minutes. This helps the chocolate harden and gives you a perfect bite.
Tips & Tricks
Achieving the Perfect Dough Consistency
To get the right dough texture, follow these steps:
- Use room-temperature butter. This helps mix well.
- Cream the butter and sugars until fluffy. This adds air.
- Mix dry and wet ingredients gently. Avoid over-mixing.
- The dough should be soft but not sticky. If it is too dry, add a splash of milk. If too wet, add a bit of flour.
Best Practices for Melting Chocolate
Melting chocolate can be tricky. Here is how to do it right:
- Use a microwave-safe bowl. Break chocolate into small pieces.
- Heat in 30-second bursts, stirring in between. This prevents burning.
- If using coconut oil, add it to the chocolate. It helps the coating stay smooth.
- If the chocolate seizes, add a tiny bit of oil. Stir until smooth.
Decorative Options for Presentation
Presentation makes your truffles shine. Here are some ideas:
- Arrange truffles in a pretty box or on a nice plate.
- Sprinkle mini chocolate chips on top for a fun touch.
- Drizzle melted chocolate over the truffles for flair.
- Add a sprinkle of sea salt for a sweet and salty contrast.
Pro Tips
- Use Heat-Treated Flour: To ensure that the flour is safe to eat raw, you can heat-treat it by spreading it on a baking sheet and baking at 350°F (175°C) for 5-7 minutes.
- Chill the Dough: Chilling the dough balls before coating them in chocolate helps them hold their shape and makes dipping easier.
- Quality Chocolate Matters: Use high-quality chocolate for coating to enhance the flavor of your truffles. A good chocolate will make a noticeable difference.
- Experiment with Add-ins: Feel free to mix in nuts, dried fruit, or different types of chocolate chips to customize your truffles to your taste!
Variations
Different Types of Chocolate for Coating
You can use various chocolates for coating your truffles. Dark chocolate gives a rich taste. Milk chocolate is sweet and creamy. White chocolate adds a nice touch, too. You can even mix chocolates for a unique flavor. Experiment with different brands to find your favorite.
Flavor Additions (e.g., nuts, spices)
Adding nuts or spices can elevate your truffles. Chopped walnuts or pecans add crunch. A pinch of cinnamon or sea salt enhances the flavor profile. You can also try adding a splash of almond extract for a twist. Get creative with your mix-ins to suit your taste buds.
Alternatives for Dietary Restrictions (dairy-free, gluten-free options)
If you have dietary needs, there are easy swaps. Use gluten-free flour to make the dough gluten-free. For dairy-free options, try coconut milk and dairy-free chocolate. These changes still keep the truffles tasty and enjoyable. You can savor these treats while meeting your dietary goals.
Storage Information
How to Store Chocolate Chip Cookie Dough Truffles
To keep your chocolate chip cookie dough truffles fresh, store them in an airtight container. Place a piece of parchment paper between layers if you stack them. This step prevents sticking. Keep them in the fridge for up to one week. If you want to enjoy them later, freezing is your best option.
Freezing Tips for Longer Shelf Life
Freezing your truffles is easy. First, place them on a baking sheet in a single layer. Freeze them for about two hours until firm. Once frozen, transfer the truffles to a freezer-safe bag or container. Label it with the date. They can last in the freezer for up to three months. When you're ready to eat them, let them thaw in the fridge overnight.
Best Practices for Enjoying Leftovers
When enjoying leftover truffles, take them out of the fridge about 15 minutes before eating. This step helps the chocolate soften slightly. For a fun twist, try pairing them with a scoop of ice cream or a glass of milk. If you have extra toppings, like nuts or sprinkles, feel free to add those for a flavorful boost!
FAQs
Can I eat the cookie dough truffles raw?
Yes, you can eat the cookie dough truffles raw. The dough is safe because we heat-treat the flour. This step kills any germs. You can enjoy the rich, sweet taste without worry. Just remember, once you coat them in chocolate, they taste even better!
How long do the truffles last in the refrigerator?
The truffles stay fresh in the fridge for about one week. Store them in an airtight container. This keeps them soft and tasty. Just take one out when you need a sweet treat!
What is the best way to reheat the truffles if frozen?
To reheat frozen truffles, let them thaw in the fridge overnight. This helps them keep their smooth texture. You can also leave them at room temp for about 30 minutes. Enjoy them at room temp or slightly chilled for the best taste!
Can I make these truffles ahead of time for a party?
Yes, you can make these truffles ahead of time. Prepare them a day or two before the event. Just store them in the fridge to keep them fresh. This way, you free up time to enjoy the party!
You learned about the key ingredients for cookie dough truffles, including dry and wet elements. You also saw how to form and freeze the dough, coat the truffles, and add fun flavors. Tips on getting the dough just right and melting chocolate safely help ensure success. Plus, we discussed storage methods for lasting enjoyment.
These easy treats are perfect for sharing or parties. Get creative with flavors and decorations. Enjoy making your own cookie dough truffles with newfound confidence!