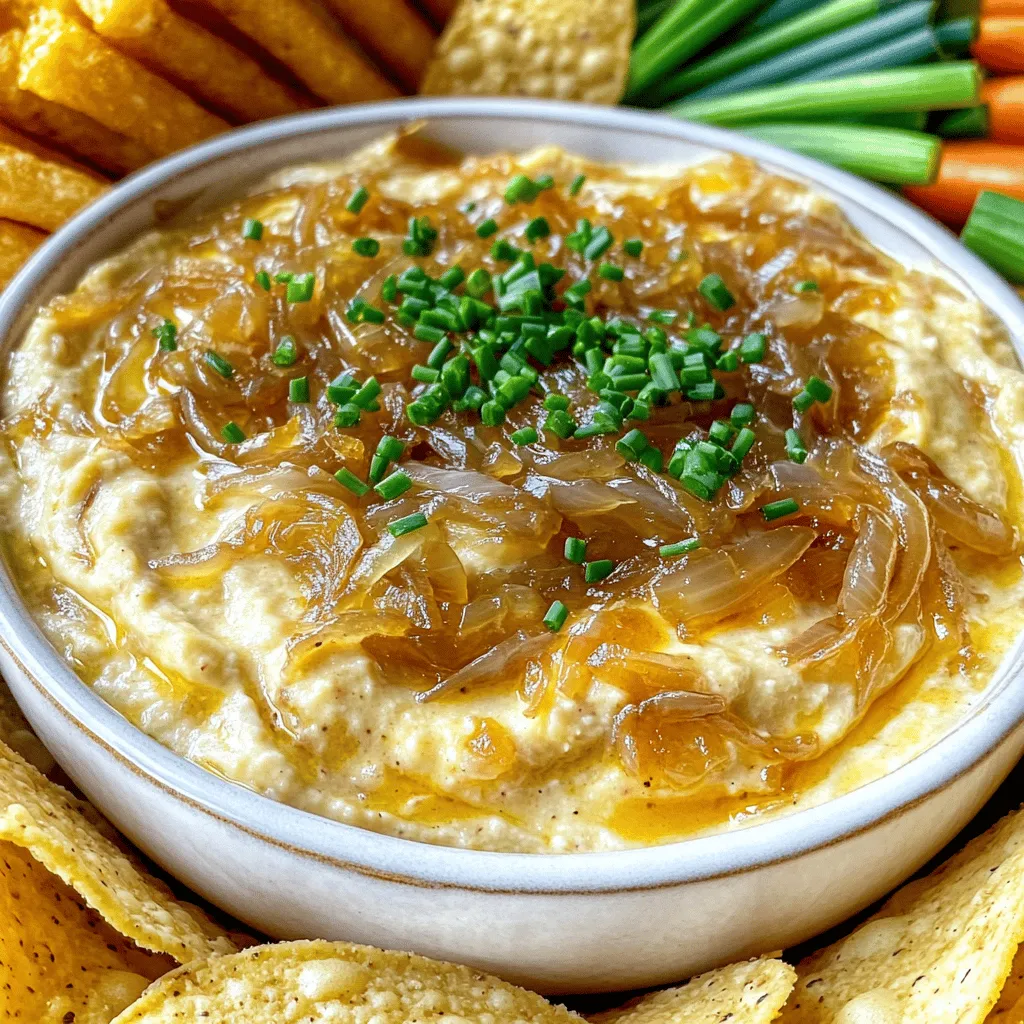
If you’re craving a dip that’s rich in flavor and easy to make, I’ve got just the recipe for you: Caramelized Onion Dip! This crowd-pleaser combines sweet, caramelized onions with creamy goodness, perfect for any gathering or snack. I’ll guide you through each simple step—from picking the best onions to achieving that perfect caramelization. Get ready to impress your friends and family with this delicious dip that everyone will love!
Ingredients
Complete List of Ingredients
To make this tasty dip, gather these items:
– 3 large yellow onions, thinly sliced
– 2 tablespoons olive oil
– 1 tablespoon butter
– 1 teaspoon salt
– 1 teaspoon sugar
– 1 cup sour cream
– 1 cup cream cheese, softened
– 1 tablespoon Worcestershire sauce
– Freshly ground black pepper, to taste
– Chives, chopped (for garnish)
– Tortilla chips or vegetable sticks (for serving)
Ingredient Substitutions
You can swap ingredients for your taste. Here are some ideas:
– Use red onions for a sweeter taste.
– Swap olive oil with avocado oil for a different flavor.
– Replace sour cream with Greek yogurt for a healthier option.
– Use any cream cheese alternative if you want a dairy-free dip.
– Try adding hot sauce instead of Worcestershire sauce for a kick.
Tips for Choosing Fresh Onions
Choosing fresh onions is key for great flavor. Here’s what to look for:
– Select onions that feel firm and heavy.
– Avoid onions with soft spots or sprouting.
– Look for dry, smooth skin without any blemishes.
– Check for a strong onion scent; this often means freshness.
These tips will help you make a great dip that everyone will love!
Step-by-Step Instructions
Preparation of Caramelized Onions
To start, gather your three large yellow onions. Slice them thinly. This helps them cook evenly. In a large skillet, heat two tablespoons of olive oil and one tablespoon of butter over medium heat. Once the butter melts, add the sliced onions. Sprinkle one teaspoon of salt and one teaspoon of sugar over them. The salt helps draw out moisture, while the sugar aids in caramelization. Stir to mix everything well. Cook the onions for about 30 to 40 minutes. Keep stirring occasionally. You want them to turn soft and a deep golden brown. When they look perfect, take them off the heat and let them cool for a few minutes.
Mixing the Dip Ingredients
While the onions cool, grab a mixing bowl. Add one cup of sour cream and one cup of softened cream cheese. Stir these until smooth and creamy. Next, mix in one tablespoon of Worcestershire sauce. This adds depth to your dip. Don’t forget to add freshly ground black pepper to taste. Once your mixture is smooth, fold in the cooled caramelized onions. Make sure the onions are evenly mixed into the dip.
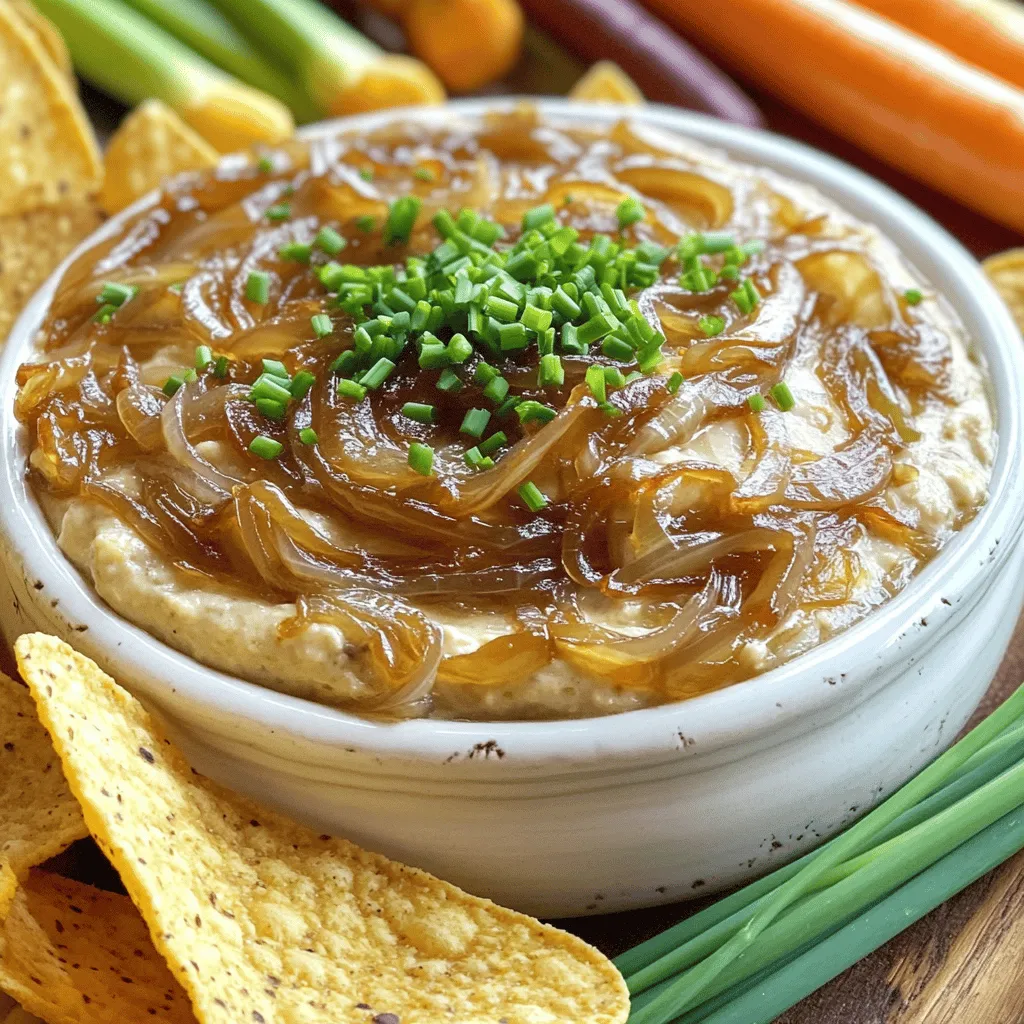
Final Assembly of Caramelized Onion Dip
Now, transfer the dip to a serving bowl. For a nice touch, sprinkle some chopped chives on top. This gives a fresh flavor and bright color. Serve your dip with tortilla chips or fresh vegetable sticks. This combination makes for a fun and tasty snack. Enjoy every bite of your homemade caramelized onion dip!
Tips & Tricks
Achieving the Perfect Caramelization
To get the best caramelized onions, patience is key. Start by heating olive oil and butter in your skillet. Use a medium heat and add your sliced onions. Sprinkle salt and sugar on top. The salt helps draw out moisture, while sugar boosts the sweetness. Stir the onions often. This helps them cook evenly and prevents burning.
Cook the onions for about 30 to 40 minutes. You want them soft and golden brown. If they start to stick, lower the heat. A little brown is good, but you don’t want blackened bits. The right color means rich flavor, so keep an eye on them!
Serving Suggestions for Parties
When serving caramelized onion dip at a party, presentation matters. Use a nice bowl for the dip. Top it with chopped chives for color. Serve with tortilla chips for crunch or fresh veggie sticks for a healthy option. Arrange these around the bowl for a beautiful display.
I suggest you make a double batch; it goes fast! You can also set up a dipping station with various chips and veggies. This way, guests can choose their favorites.
Pairing Options with Dips
Caramelized onion dip pairs well with many snacks. For a classic combo, serve it with crispy tortilla chips. Their crunch balances the creamy dip.
You can also try fresh vegetable sticks like carrots, celery, or bell peppers. They add a nice crunch and a fresh flavor. If you want something different, consider serving it with soft bread or crackers. The bread’s texture complements the dip well.
Feel free to explore other flavor profiles, too! Add some spicy salsa or tangy pickles on the side for extra fun.
Variations
Spicy Caramelized Onion Dip
To add some heat, try making a spicy version. You can mix in diced jalapeños or red pepper flakes. Start with one tablespoon of jalapeños for a mild kick. If you want more heat, add more as you stir. The spice will blend well with the sweet caramelized onions. This twist makes the dip exciting and full of flavor.
Cheesy Caramelized Onion Dip
For a cheesy treat, you can add different cheeses. Mix in one cup of shredded cheddar cheese or mozzarella. Stir until the cheese melts into the dip. You can also sprinkle some cheese on top before serving. This gives a nice, gooey finish. The cheese pairs perfectly with the rich onions.
Herb-Infused Caramelized Onion Dip
If you love herbs, this variation is for you. Add a tablespoon of fresh thyme or rosemary to your onions as they cook. The herbs will bring out even more flavor. You can also mix in fresh chives or parsley at the end. This version adds a fresh taste that brightens the dip. Each herb adds its own unique flavor, making your dip stand out.
Storage Info
Best Storage Practices
To keep your caramelized onion dip fresh, store it in an airtight container. Glass or plastic containers work great. Make sure to let the dip cool before sealing it up. This helps avoid moisture buildup. I recommend keeping it in the fridge right after serving.
How Long Does It Last?
When stored properly, caramelized onion dip lasts about 3 to 5 days in the fridge. Always check for any change in smell or color before eating. If you notice anything off, it’s best to throw it away.
Reheating Tips for Leftovers
Reheating is simple! Just scoop out the amount you want and place it in a bowl. Microwave it in short bursts, about 20 seconds at a time, stirring in between. This helps get it warm without cooking it more. You can also heat it on the stove over low heat. Just stir often to keep it smooth. If it gets too thick, add a splash of sour cream or cream cheese to bring it back to life!
FAQs
Can I make caramelized onion dip ahead of time?
Yes, you can make caramelized onion dip ahead of time. I often prepare it a day before a party. After making it, let it cool and store it in the fridge. This dip tastes even better after resting. The flavors mix well when it sits. Before serving, just stir it well. You can also add fresh chives for a pop of color.
What can I serve with caramelized onion dip?
You can serve caramelized onion dip with many tasty options. Tortilla chips are a classic choice. They add a nice crunch. Fresh vegetable sticks also work well. Carrots, celery, and bell peppers are great for dipping. You can even serve it with pita bread or crackers. The dip’s creamy texture pairs well with various dippers.
Is caramelized onion dip vegetarian-friendly?
Yes, caramelized onion dip is vegetarian-friendly. The ingredients, like onions, sour cream, and cream cheese, are all plant-based. Worcestershire sauce may contain anchovies, so check the label. Some brands offer vegetarian versions without fish. You can easily make this dip a hit at any gathering, even for vegetarians.
Caramelized onion dip is simple to make and delicious. Our ingredient guide helps you pick fresh ingredients and offers swaps when needed. The step-by-step instructions ensure your onions caramelize perfectly. We explored serving tips and variations to please any crowd. Proper storage tips can keep your dip fresh and tasty.
In the end, whether you prepare it spicy, cheesy, or herby, this dip will impress. Enjoy making and sharing it!