FREE DINNER EBOOK!
Get your copy!
Cookie Policy
GDPR Policy
Disclaimer
Terms Of Use
Visit my other site:
Fun Cookie Recipes
Home
Dinner
Desserts
Drinks
Appetizers
Contact
About
Privacy Policy
Home
Dinner
Desserts
Drinks
Appetizers
Contact
About
Privacy Policy
Cookie Policy
GDPR Policy
Disclaimer
Terms Of Use
Visit my other site:
Fun Cookie Recipes
HOME / CATEGORIES /
Latest
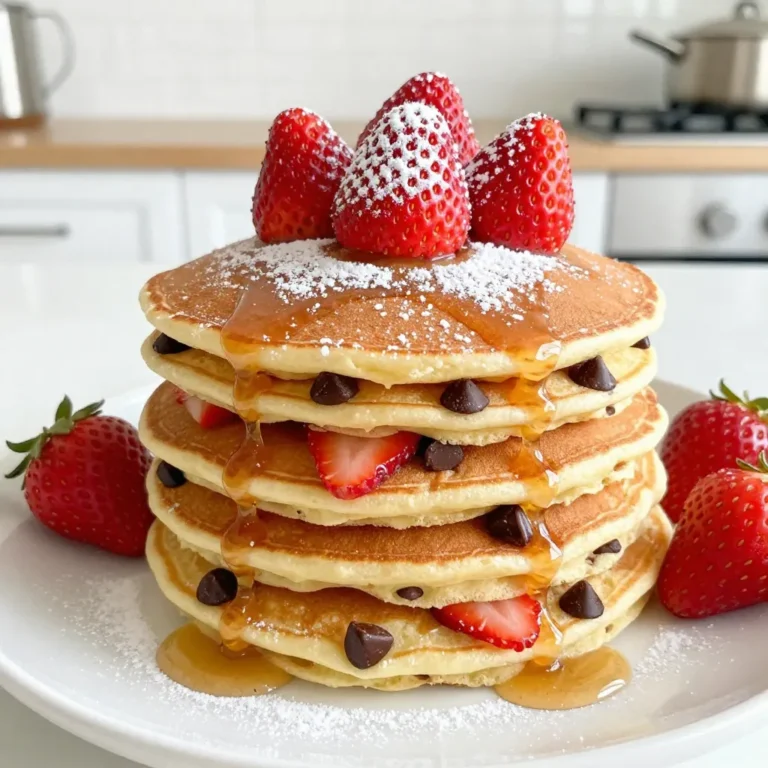
Strawberry Chocolate Chip Pancakes Delightful Breakfast Treat
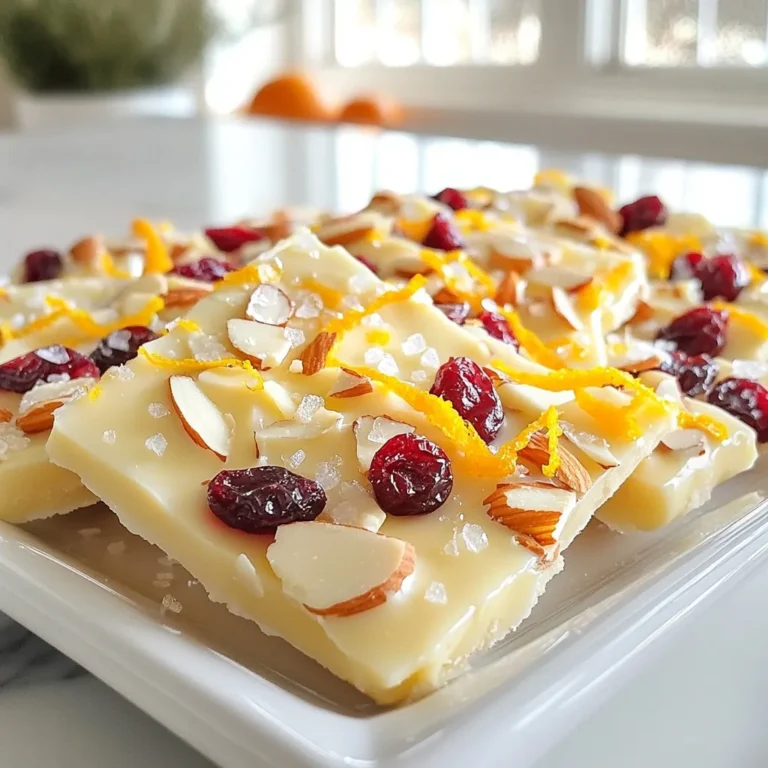
Orange Cranberry White Chocolate Bark Irresistible Treat
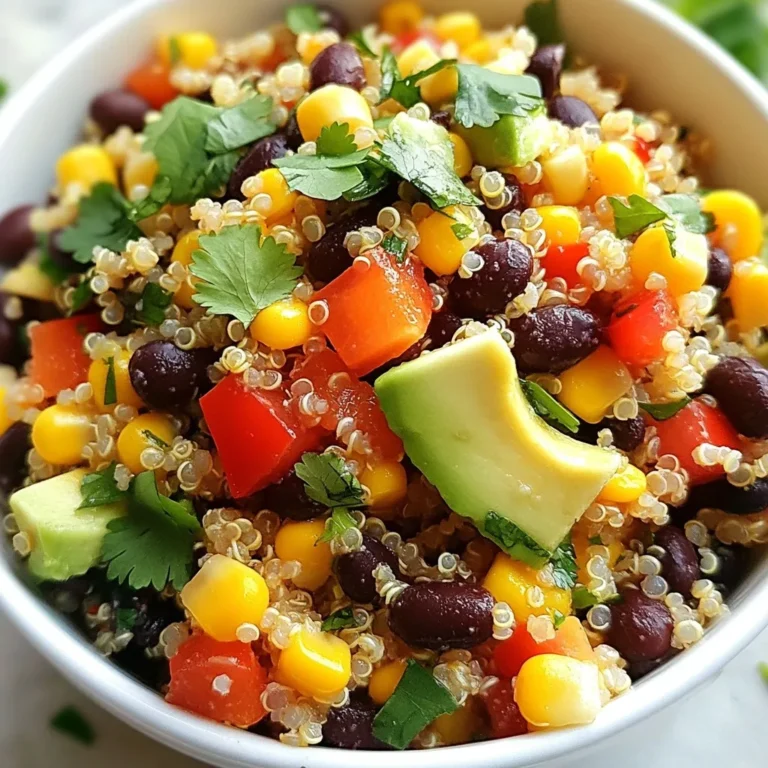
Southwest Quinoa Salad Healthy and Wholesome Dish
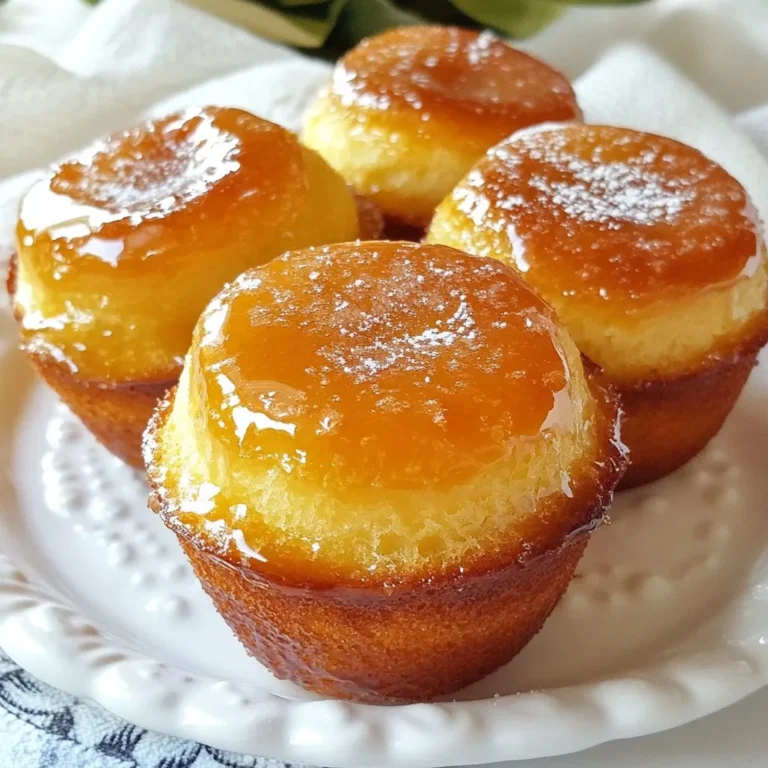
Maple Glazed Donut Muffins Tasty and Simple Treat
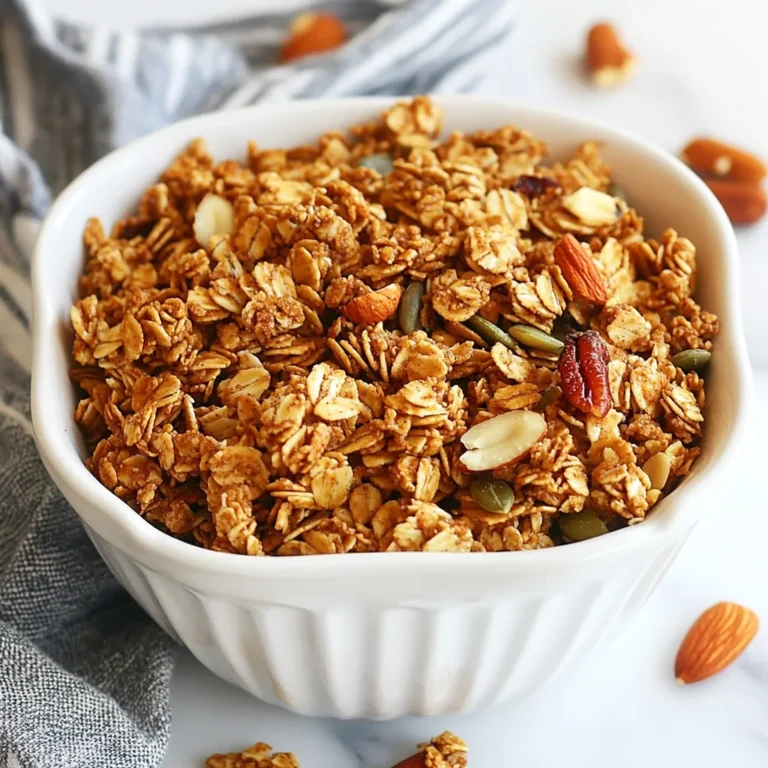
Maple Cinnamon Granola Crunchy and Flavorful Snack
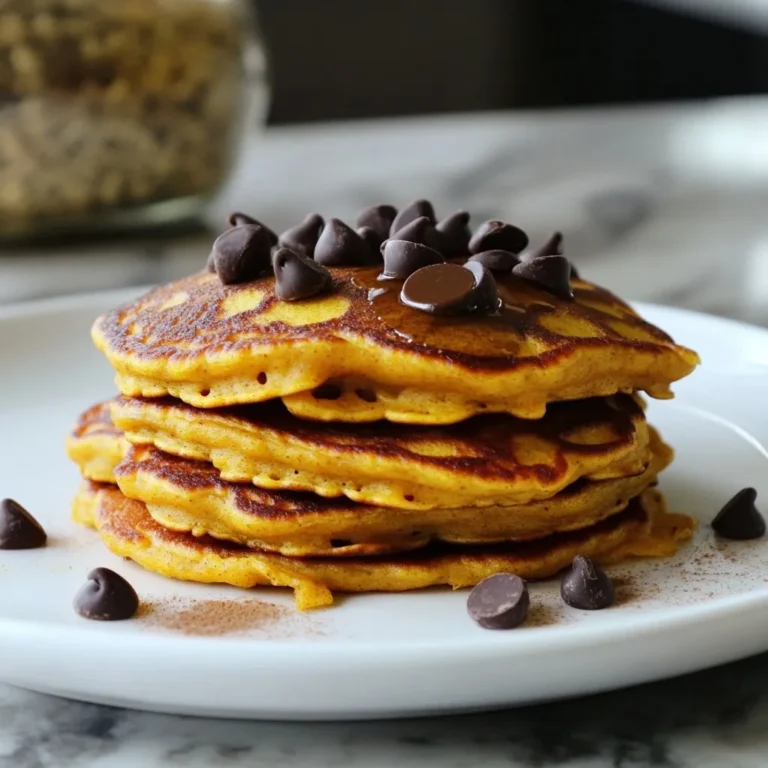
Chocolate Chip Pumpkin Pancakes Delightful Weekend Treat
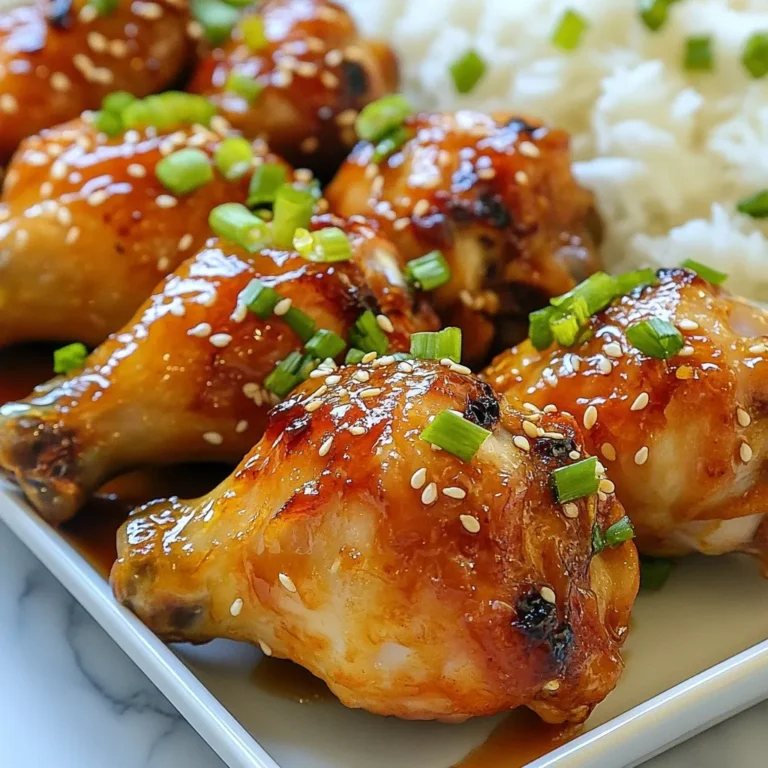
Honey Garlic Chicken Drumsticks Savory and Simple Meal
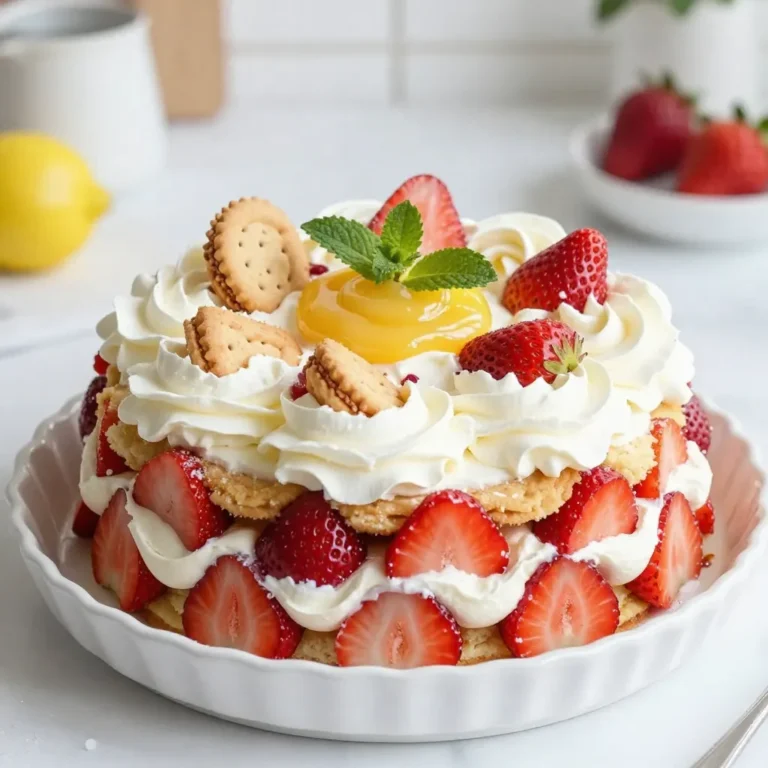
Strawberry Shortcake Icebox Cake Delightful Dessert Recipe
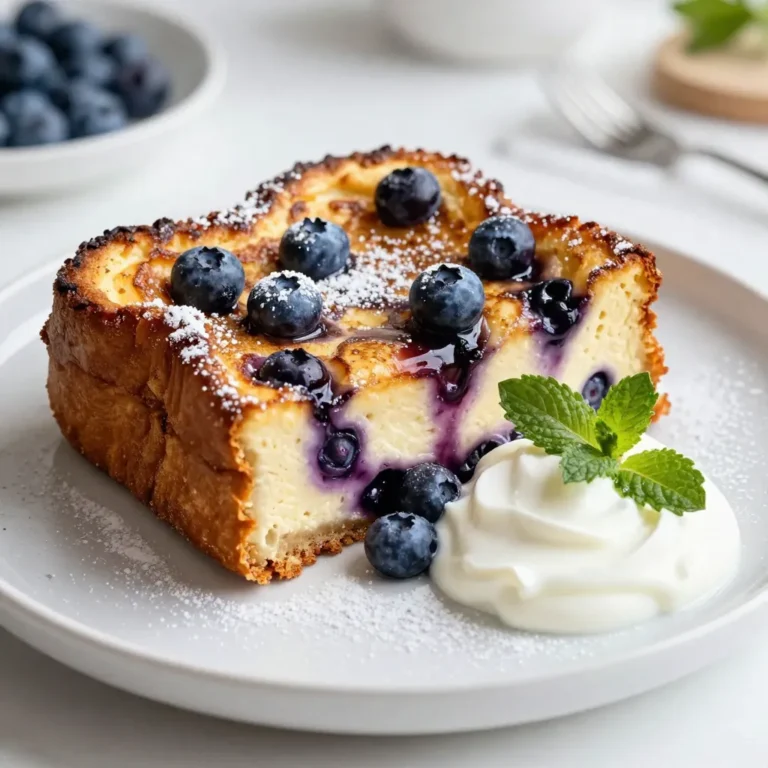
Blueberry Cheesecake French Toast Casserole Delight
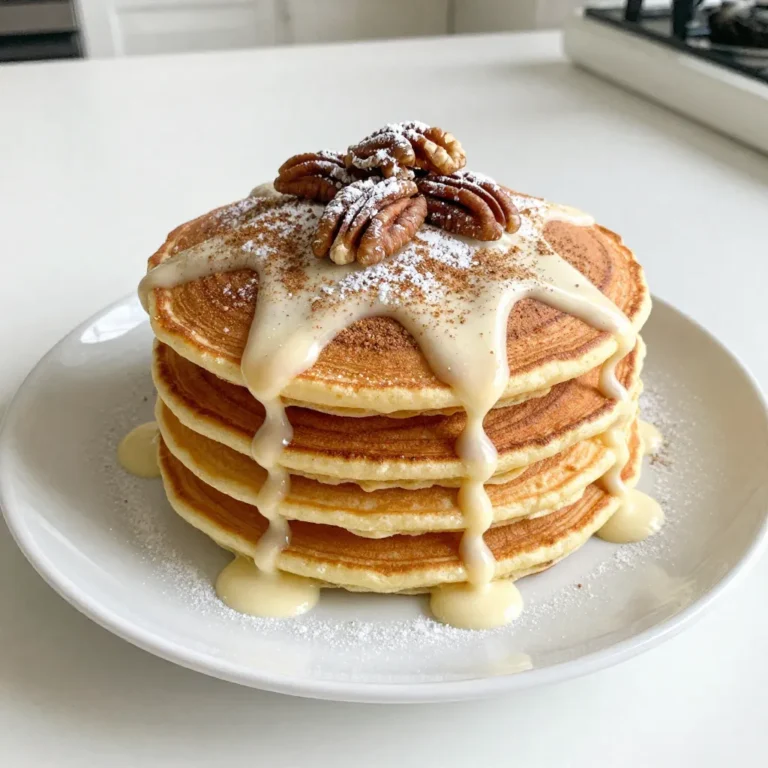
Cinnamon Roll Pancakes Delightful Breakfast Recipe
PREV
1
…
3
4
5
…
72
NEXT