FREE DINNER EBOOK!
Get your copy!
Cookie Policy
GDPR Policy
Disclaimer
Terms Of Use
Visit my other site:
Fun Cookie Recipes
Home
Dinner
Desserts
Drinks
Appetizers
Contact
About
Privacy Policy
Home
Dinner
Desserts
Drinks
Appetizers
Contact
About
Privacy Policy
Cookie Policy
GDPR Policy
Disclaimer
Terms Of Use
Visit my other site:
Fun Cookie Recipes
HOME / CATEGORIES /
Latest
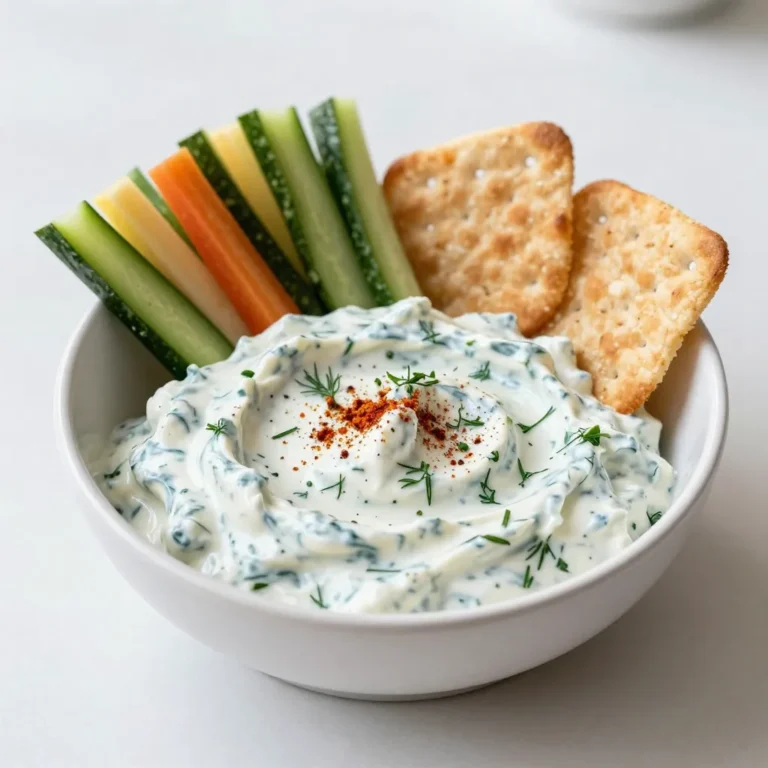
Creamy Greek Yogurt Ranch Dip Flavorful and Fresh
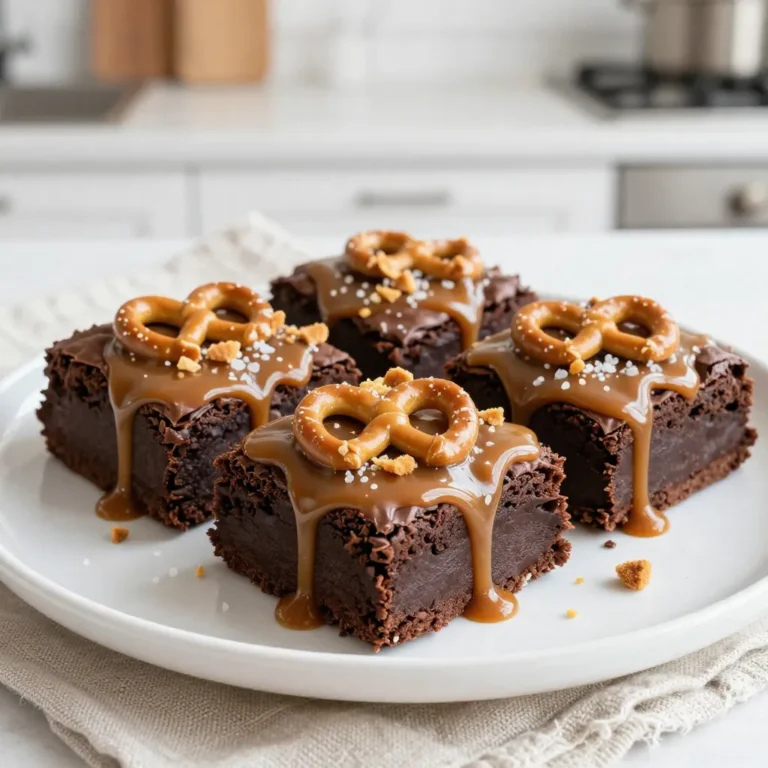
Caramel Pretzel Chocolate Brownies Irresistible Treat
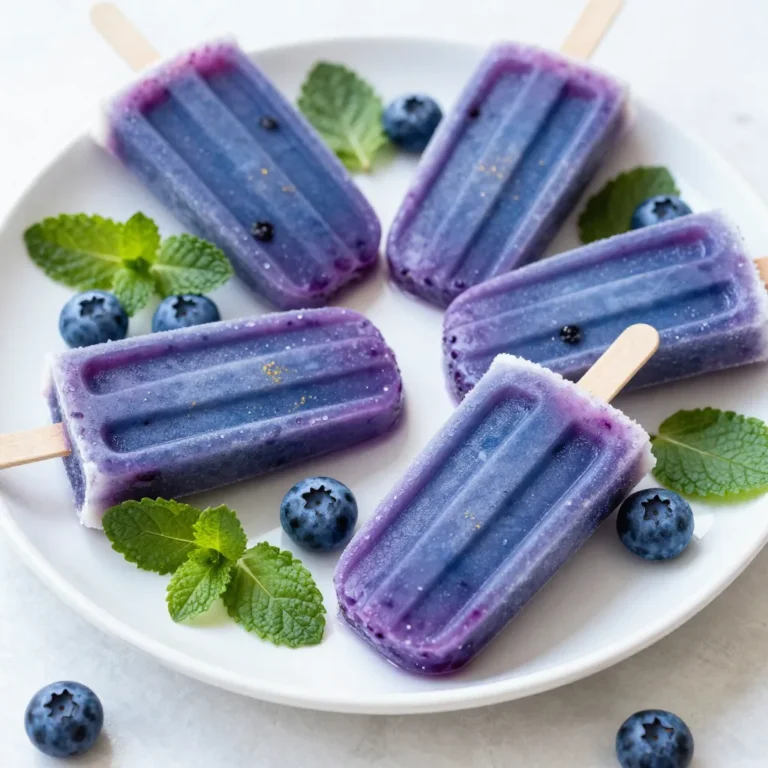
Blueberry Lemonade Pops Refreshing Summer Treat
Caramel Latte Overnight Oats Irresistible Breakfast Delight
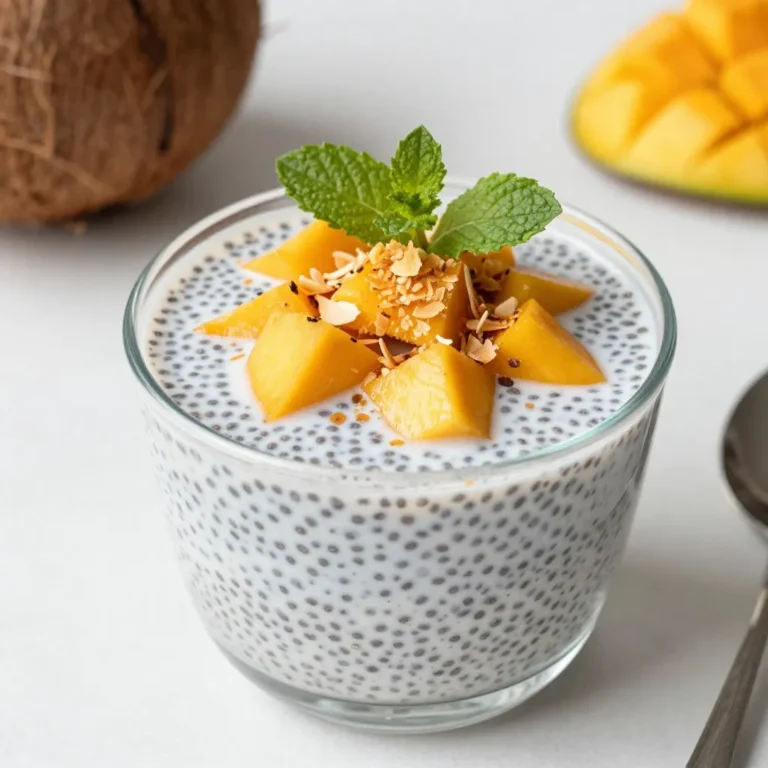
Coconut Mango Chia Pudding Tasty and Healthy Treat
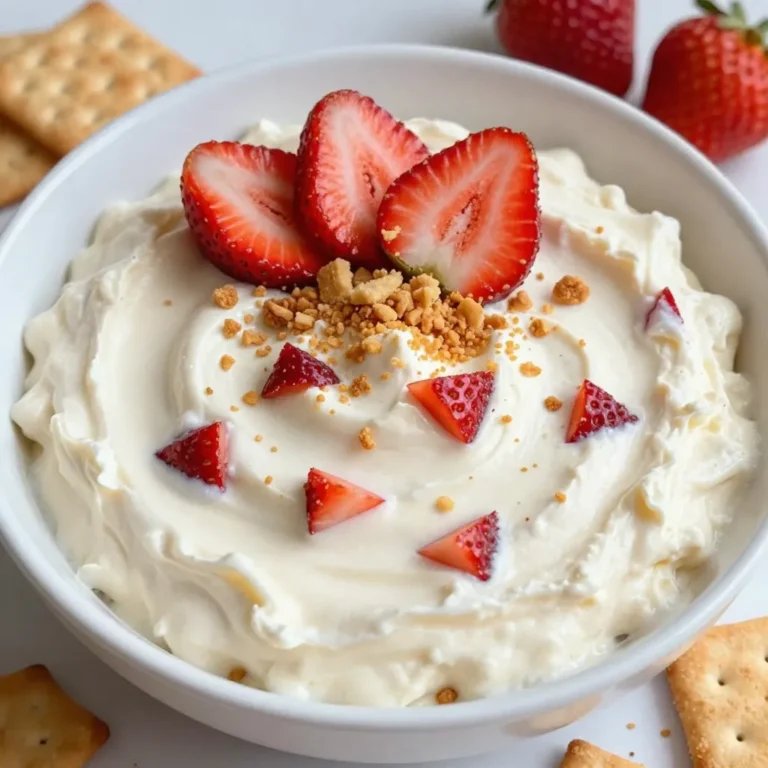
Strawberry Cheesecake Dip Tasty and Simple Delight
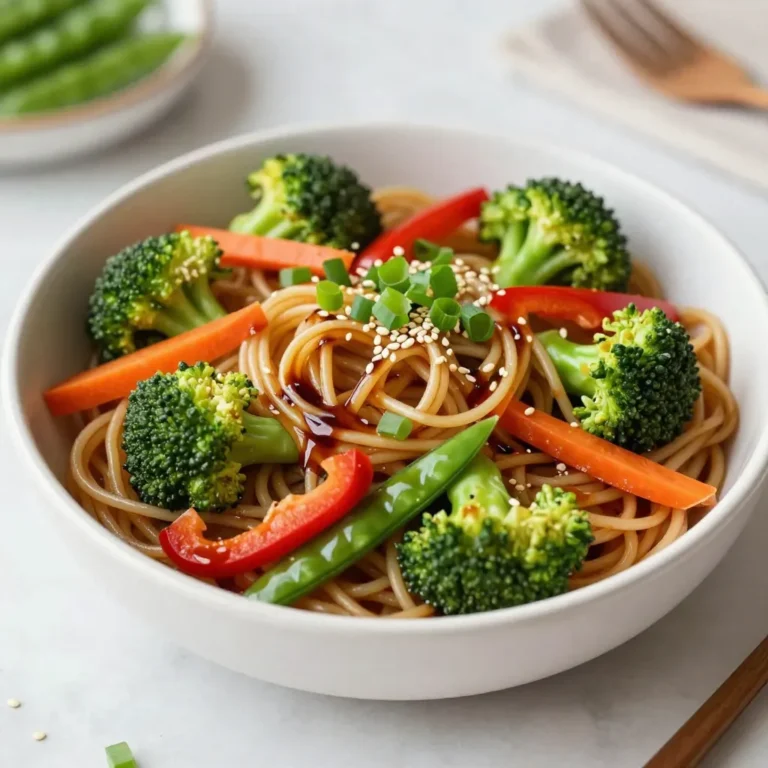
Easy Veggie Lo Mein Flavorful and Quick Meal Guide
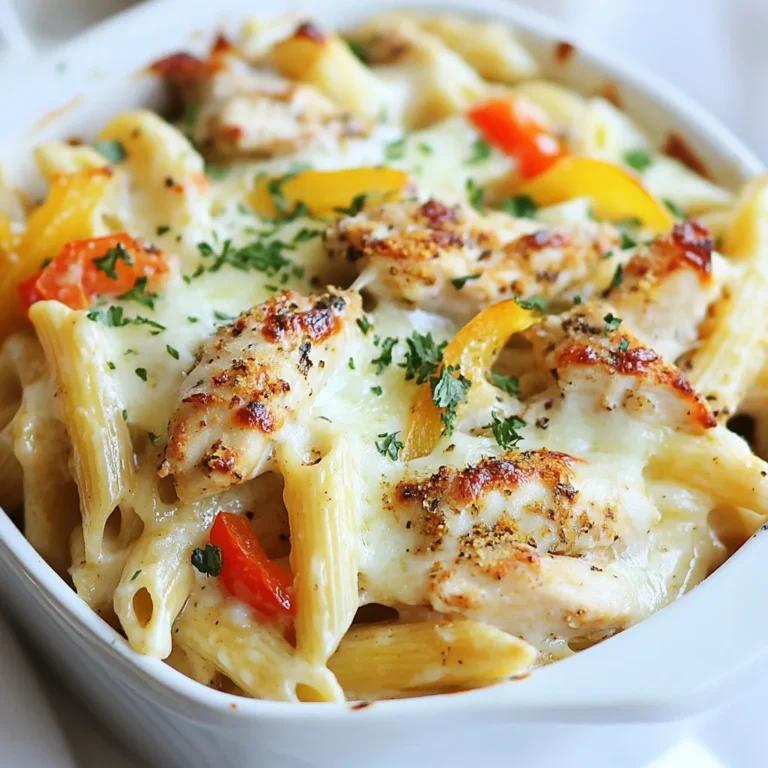
Cajun Chicken Alfredo Bake Flavorful and Hearty Meal
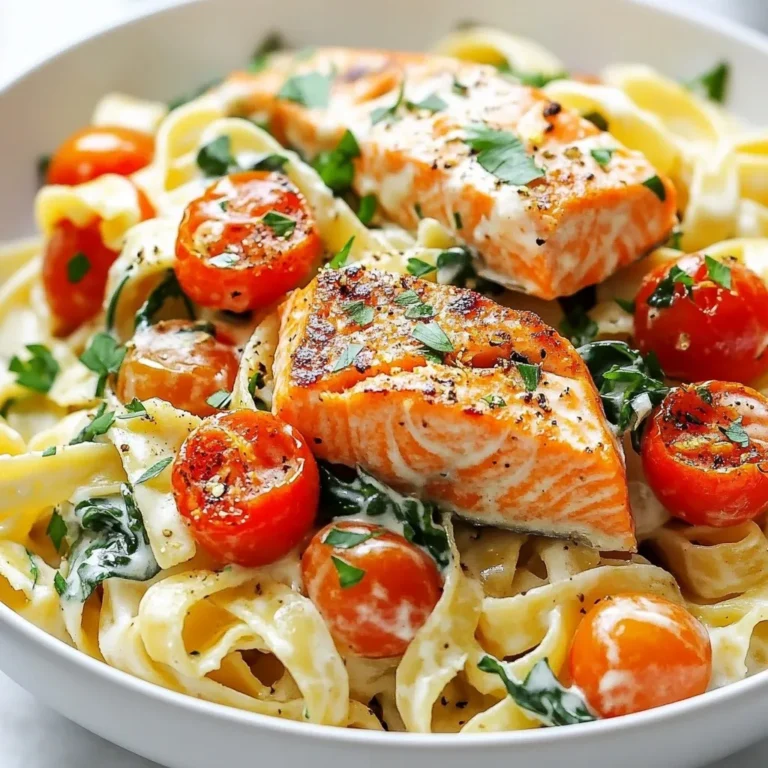
Cajun Salmon Pasta for a Flavorful Dinner Experience
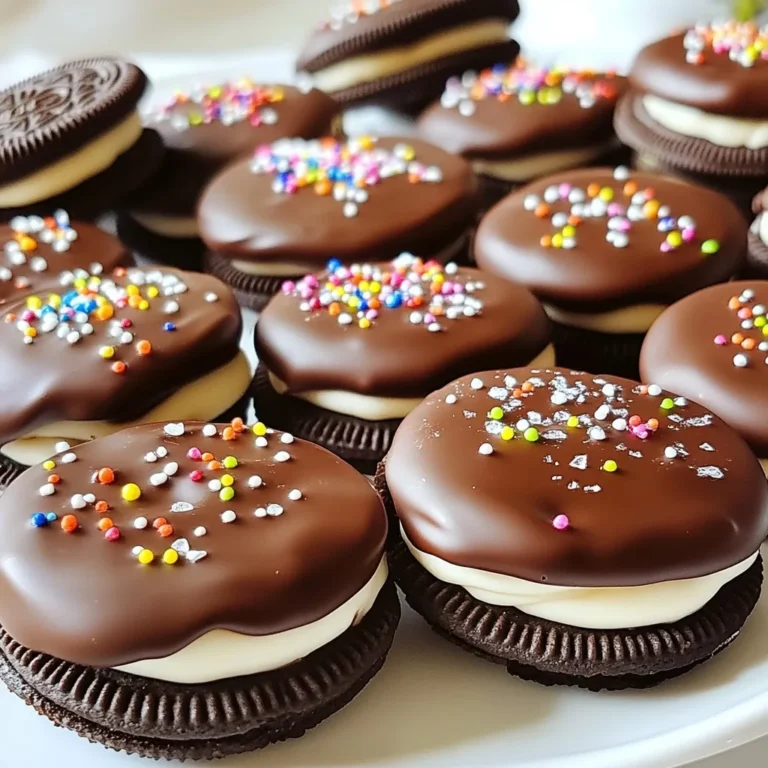
Chocolate Covered Oreos Delightful and Easy Treat
PREV
1
2
3
4
…
72
NEXT