FREE DINNER EBOOK!
Get your copy!
Cookie Policy
GDPR Policy
Disclaimer
Terms Of Use
Visit my other site:
Fun Cookie Recipes
Home
Dinner
Desserts
Drinks
Appetizers
Contact
About
Privacy Policy
Home
Dinner
Desserts
Drinks
Appetizers
Contact
About
Privacy Policy
Cookie Policy
GDPR Policy
Disclaimer
Terms Of Use
Visit my other site:
Fun Cookie Recipes
HOME / CATEGORIES /
Latest
Strawberry Cheesecake Smoothie Bowl Creamy Delight
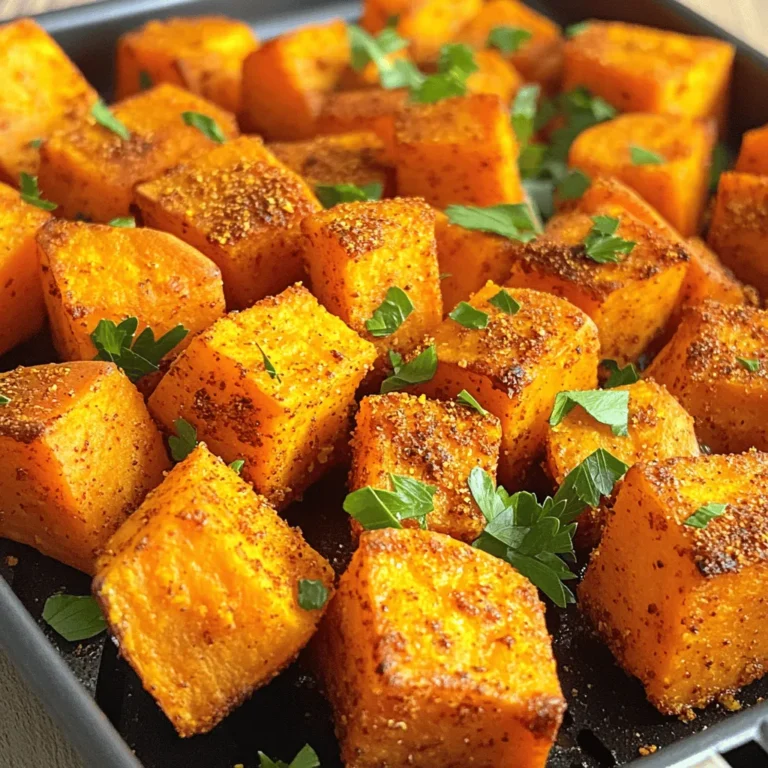
Air Fryer Cajun Sweet Potato Cubes Savory Delight
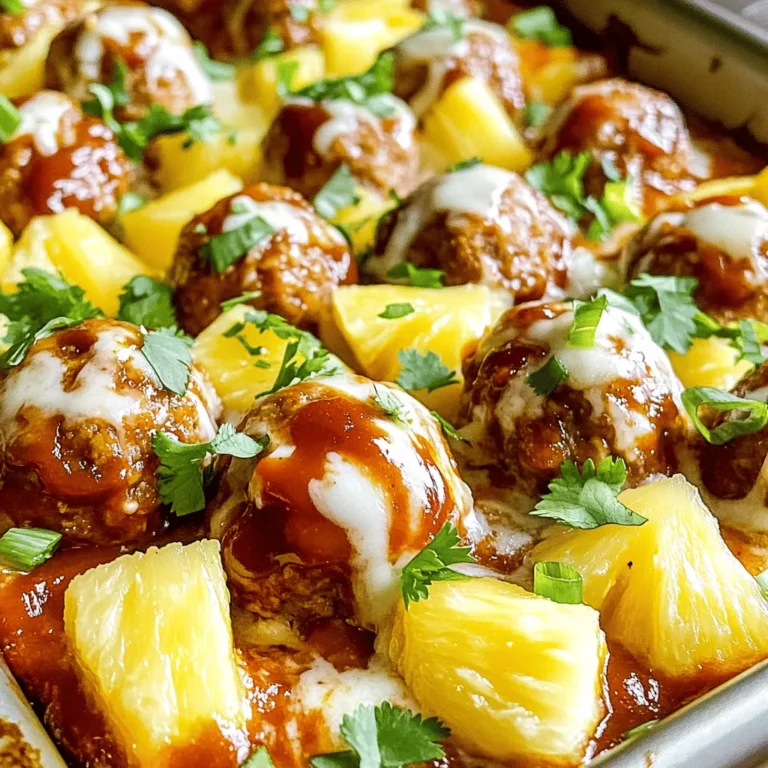
Sheet Pan Pineapple BBQ Meatballs Flavorful and Easy
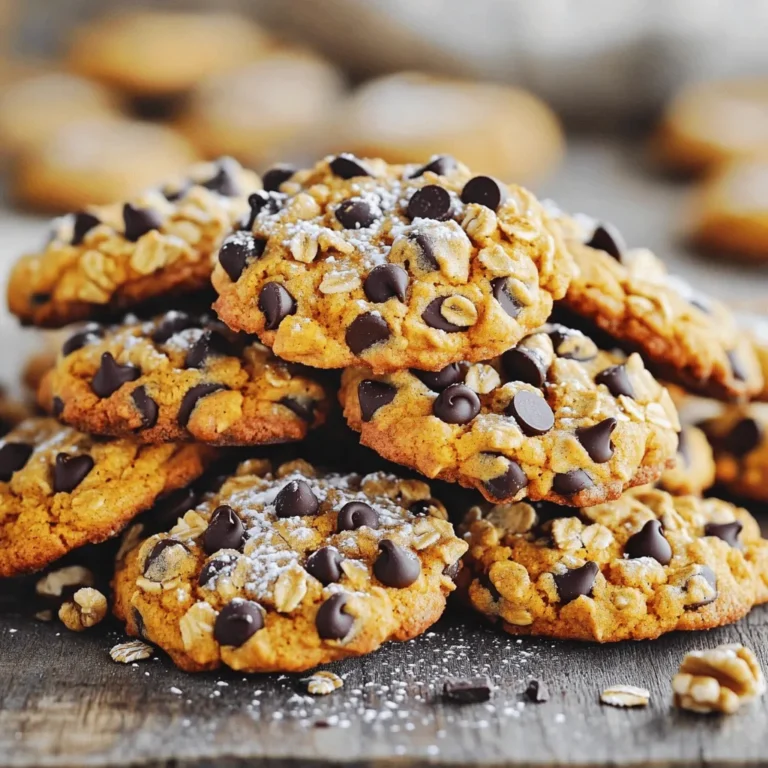
Chocolate Chip Pumpkin Oat Cookies Healthy Delight
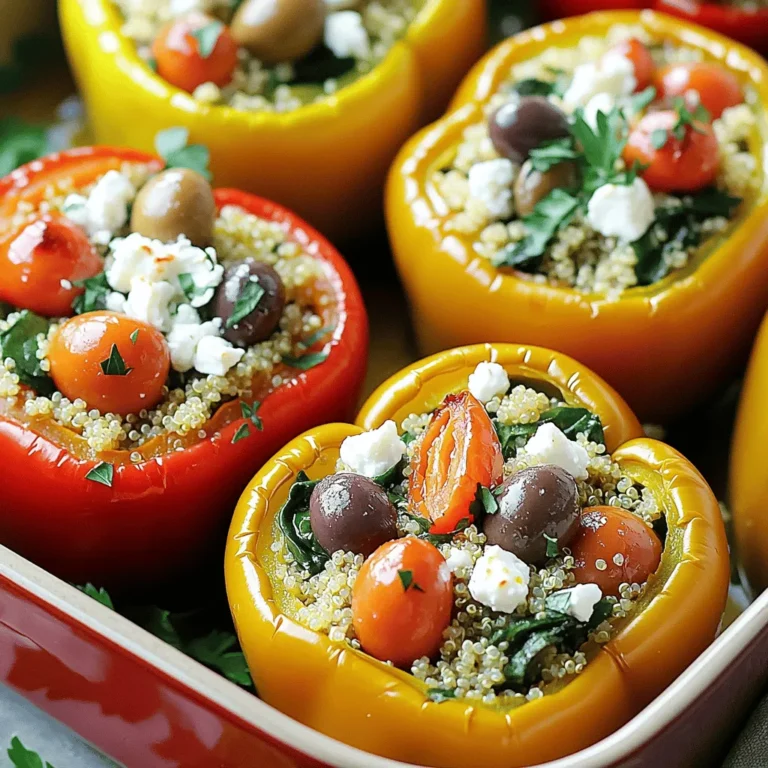
Mediterranean Quinoa Stuffed Peppers Flavorful Delight
Mediterranean Quinoa Stuffed Peppers Flavorful Delight
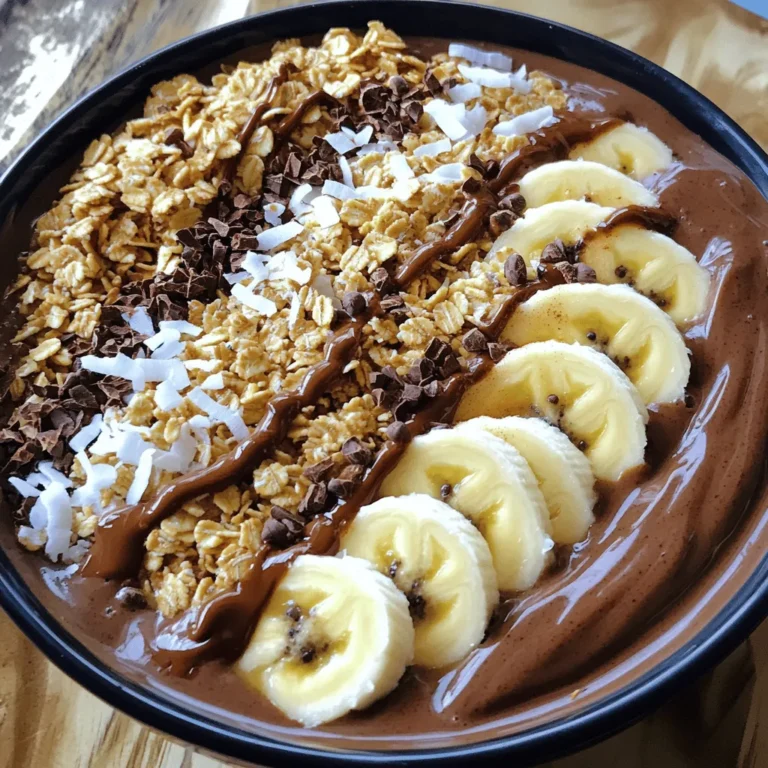
Mocha Protein Smoothie Bowl Energizing Morning Delight
Mocha Protein Smoothie Bowl Energizing Morning Delight
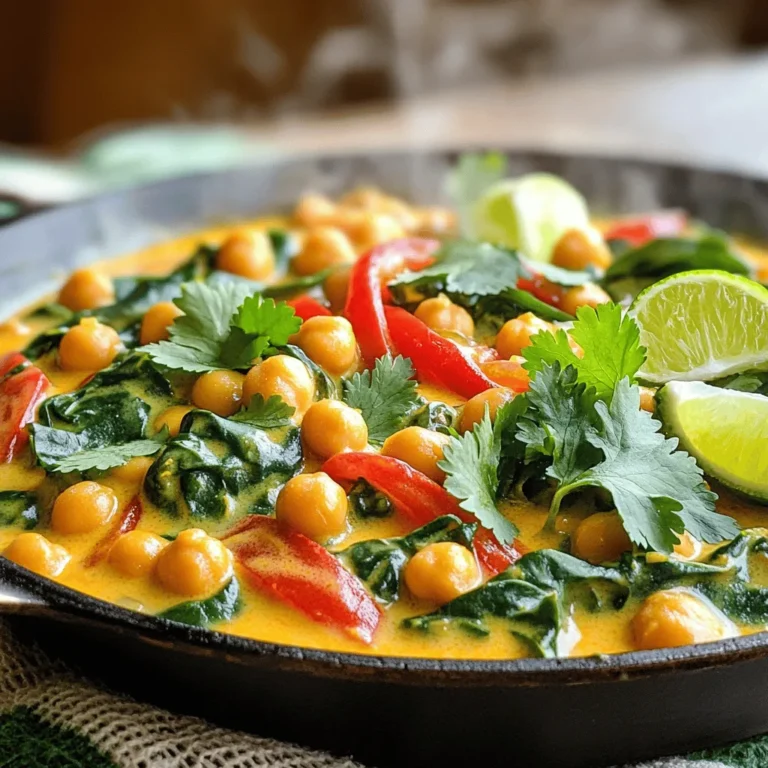
Thai Coconut Curry Chickpeas Flavorful and Easy Meal
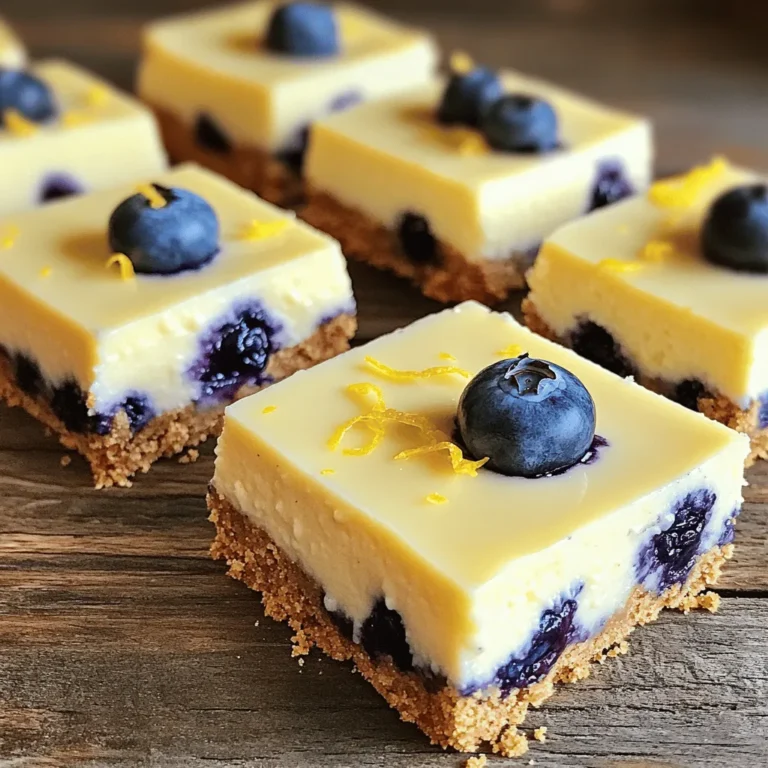
Lemon Blueberry Cheesecake Bars Delightful Summer Treat
PREV
1
…
16
17
18
…
53
NEXT