FREE DINNER EBOOK!
Get your copy!
Cookie Policy
GDPR Policy
Disclaimer
Terms Of Use
Visit my other site:
Fun Cookie Recipes
Home
Dinner
Desserts
Drinks
Appetizers
Contact
About
Privacy Policy
Home
Dinner
Desserts
Drinks
Appetizers
Contact
About
Privacy Policy
Cookie Policy
GDPR Policy
Disclaimer
Terms Of Use
Visit my other site:
Fun Cookie Recipes
HOME / CATEGORIES /
Latest
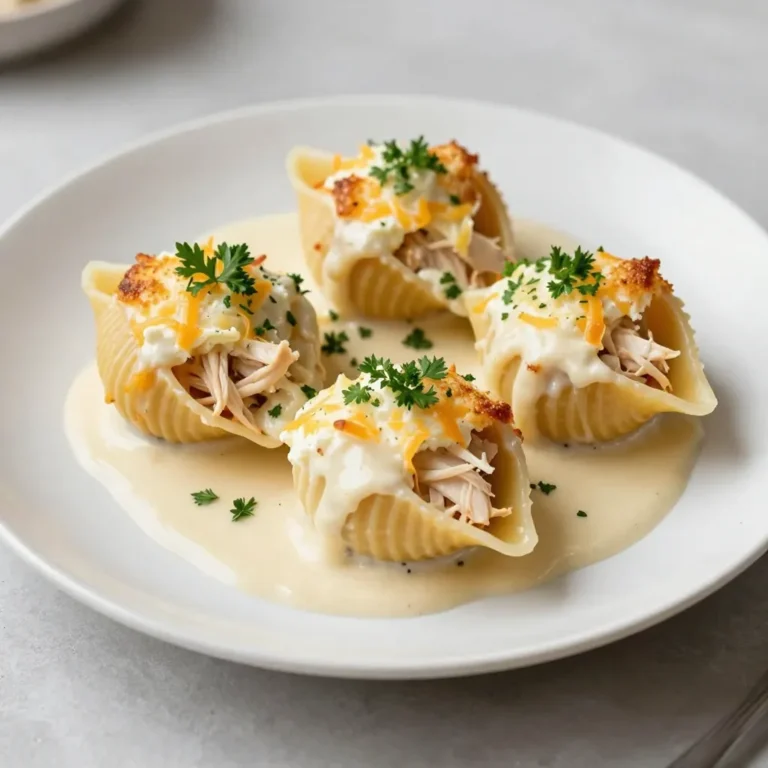
Savory Chicken Alfredo Stuffed Shells Comfort Meal
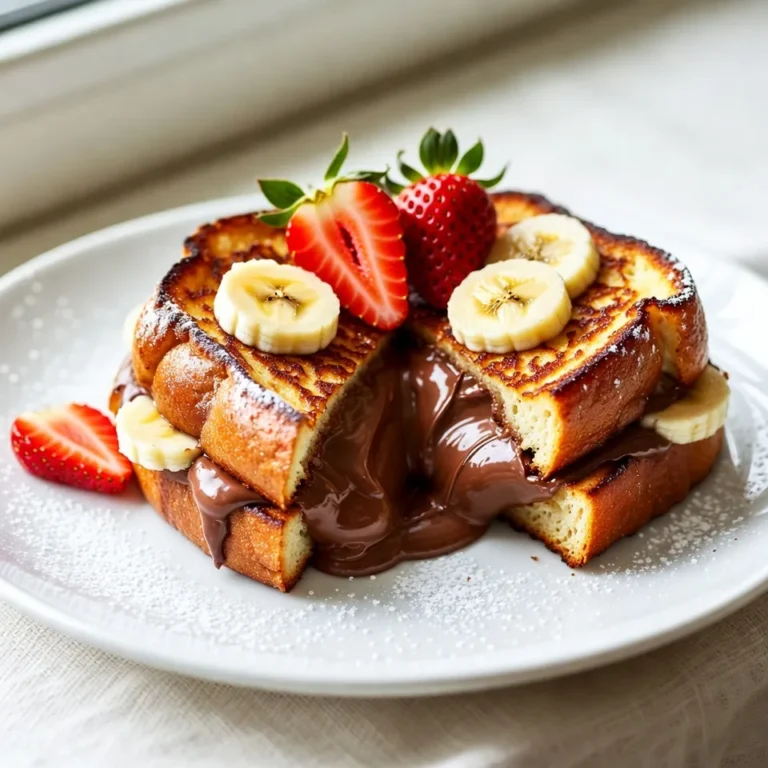
Nutella Stuffed French Toast Irresistible Recipe
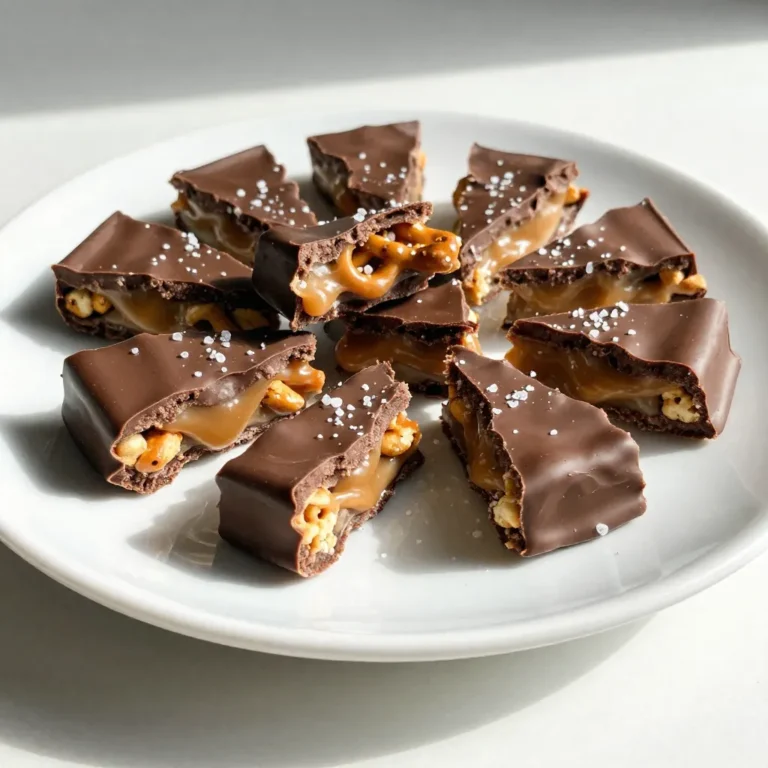
Chocolate Caramel Pretzel Bark Delightful Treat Recipe
Garlic Parmesan Roasted Broccoli Flavorful Side Dish
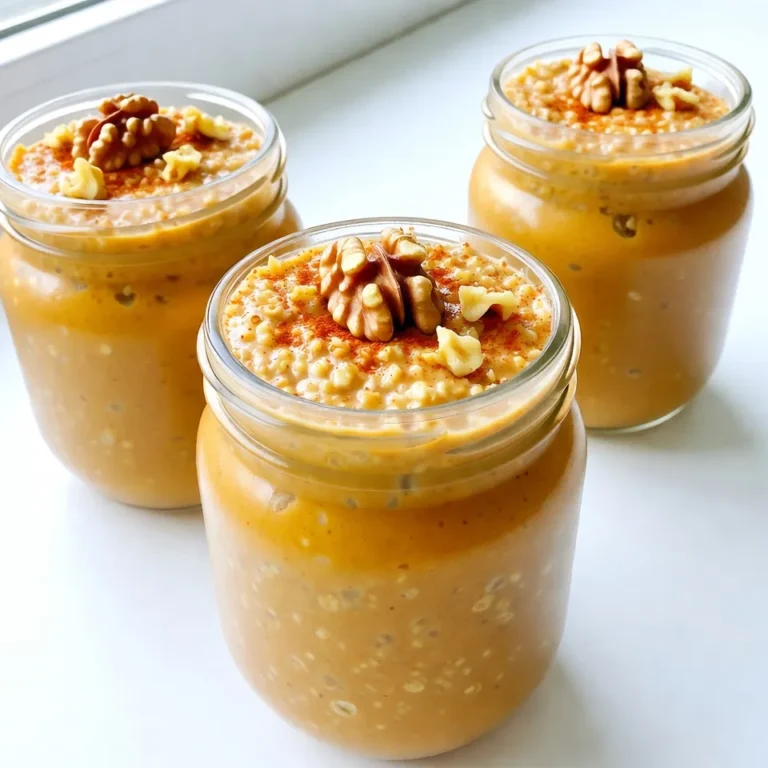
Pumpkin Pie Overnight Oats Tasty and Easy Recipe
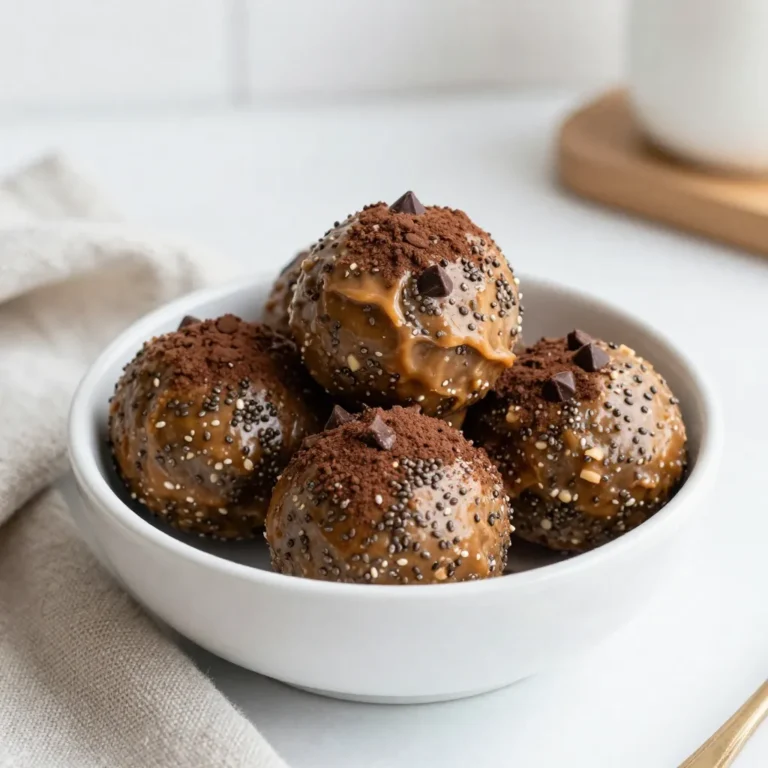
Peanut Butter Chocolate Protein Balls Delicious Snack
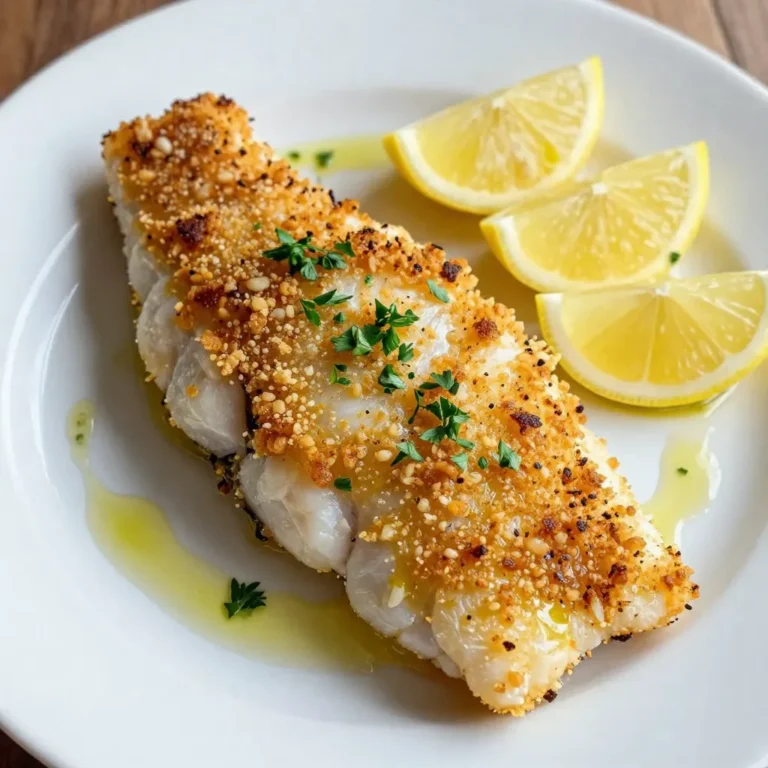
Garlic Parmesan Crusted Cod Easy and Flavorful Dish
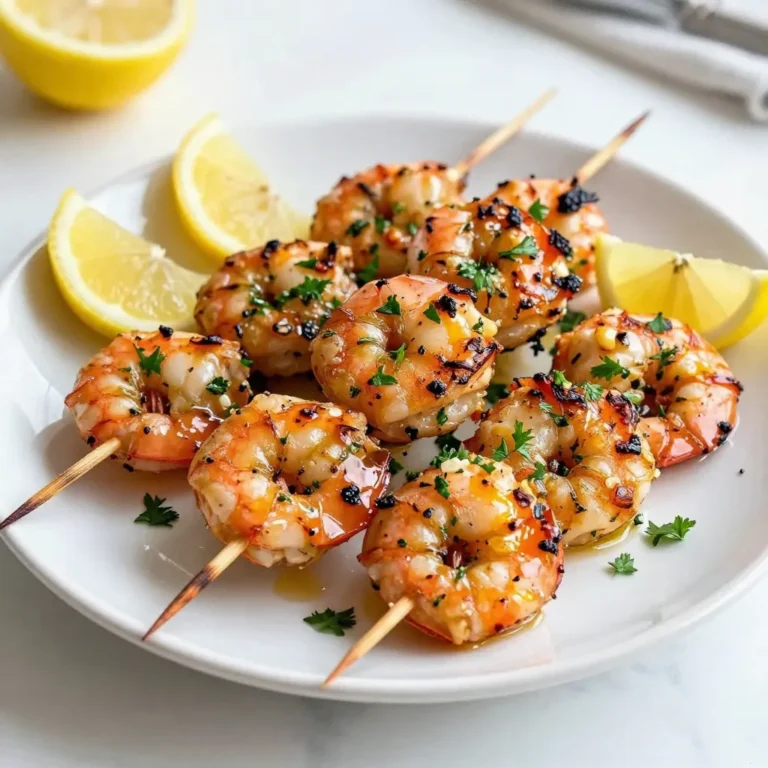
Lemon Herb Grilled Shrimp Flavorful and Easy Recipe
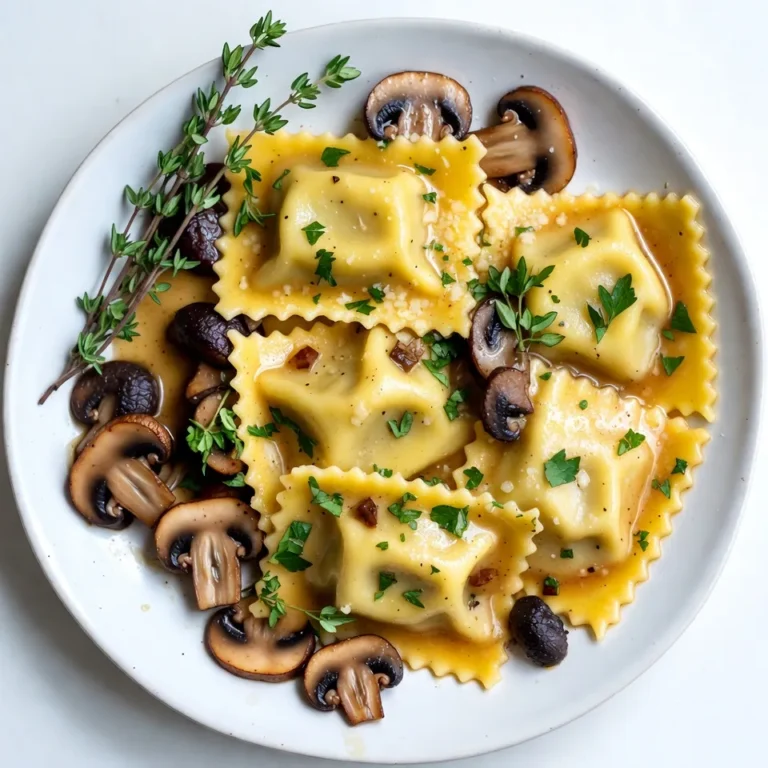
Garlic Butter Mushroom Ravioli Flavorful and Easy Dish
Creamy Tomato Basil Tortellini Easy Weeknight Meal
1
2
…
72
NEXT