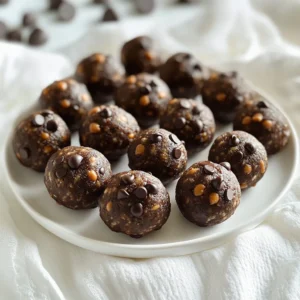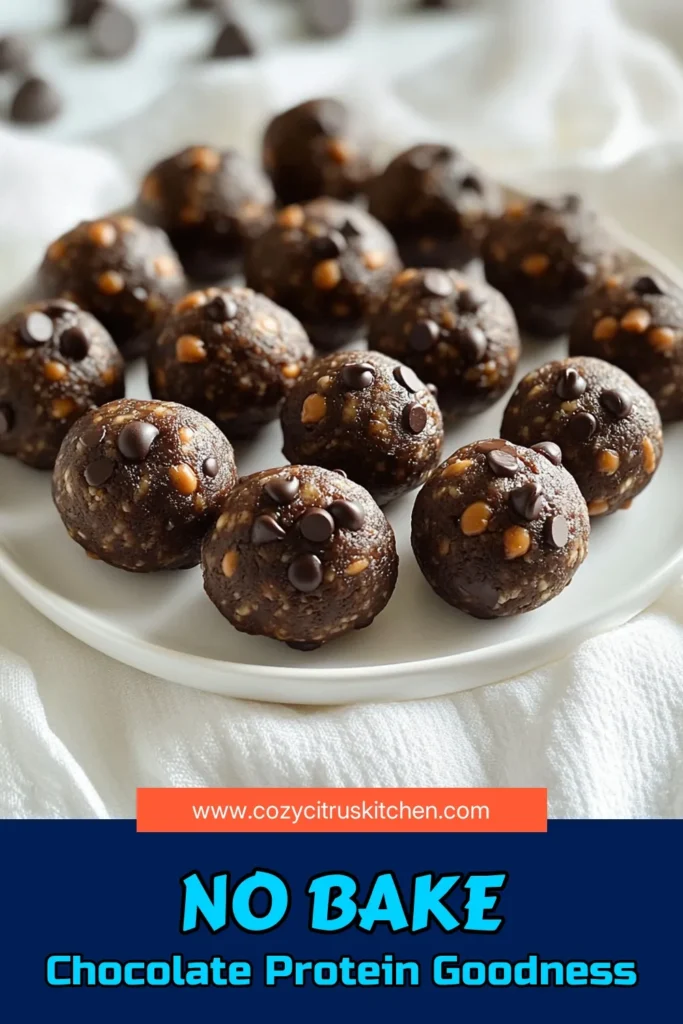
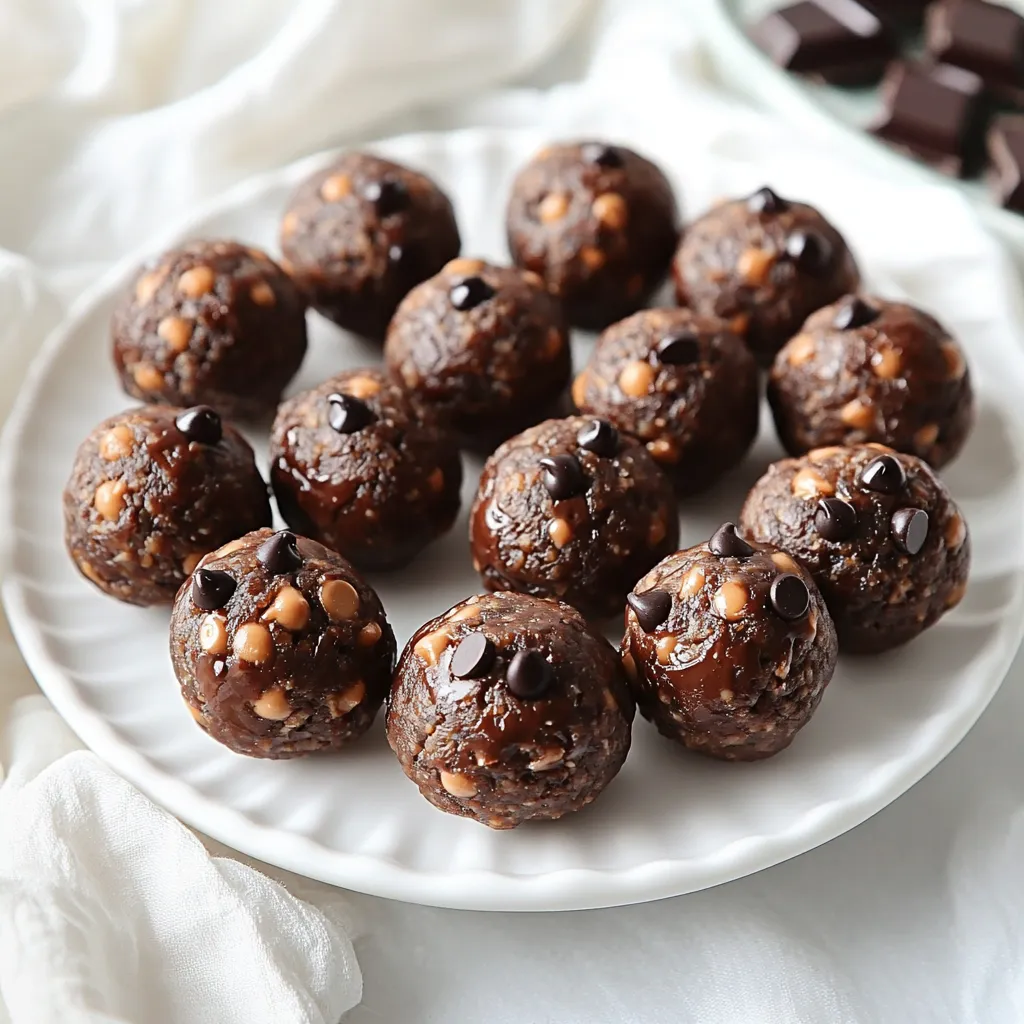
Looking for a quick snack that packs a protein punch? Look no further! Chocolate Peanut Butter Protein Balls are not just delicious but also easy to make. Packed with energy and flavor, these little bites will fuel your day effectively. With simple ingredients and step-by-step instructions, you can whip up a batch in no time. Ready to dive into this tasty treat? Let’s get started!

Ingredients
List of Ingredients
– 1 cup natural peanut butter
– 1 cup rolled oats
– 1/3 cup honey or maple syrup
– 1/4 cup unsweetened cocoa powder
– 1/2 cup protein powder (chocolate or vanilla flavor)
– 1/4 cup mini dark chocolate chips
– 1/4 teaspoon salt
– 1 teaspoon vanilla extract
To create Chocolate Peanut Butter Protein Balls, gather these simple ingredients. Each item plays a key role in flavor and texture. The natural peanut butter gives a rich taste and healthy fats. Rolled oats add fiber, making these snacks filling. Honey or maple syrup provides sweetness and binds the mixture. Unsweetened cocoa powder adds that deep chocolate flavor we love.
Protein powder boosts the nutritional value. You can choose either chocolate or vanilla. Mini dark chocolate chips add a fun crunch and extra sweetness. A pinch of salt balances the flavors, while vanilla extract enhances the overall taste.
Nutritional Information
– Calories per ball: About 100 calories
– Protein content: Approximately 5 grams per ball
– Macro breakdown:
– Fat: 6 grams
– Carbohydrates: 9 grams
– Fiber: 1 gram
These protein balls are not just tasty; they also provide a good amount of protein. Each ball has about 100 calories, which makes them a great snack option. With 5 grams of protein, they help you stay full and energized. The healthy fats from peanut butter support a balanced diet. This snack is perfect for an afternoon boost or a post-workout treat.
Step-by-Step Instructions
Preparation Steps
1. Start by grabbing a large mixing bowl.
2. Combine 1 cup of natural peanut butter, 1/3 cup of honey (or maple syrup), and 1 teaspoon of vanilla extract. Mix until smooth and creamy.
3. In another bowl, mix 1 cup of rolled oats, 1/4 cup of unsweetened cocoa powder, 1/2 cup of protein powder, 1/4 teaspoon of salt, and 1/4 cup of mini dark chocolate chips.
4. Add the dry mixture to the wet ingredients. Stir until everything comes together. You want a thick dough.
5. If the mixture feels sticky, wait a few minutes. This lets the oats soak up some liquid. You can add more protein powder if needed.
Forming the Balls
1. Take some dough and use your hands to shape it into small balls, about 1 inch wide.
2. To keep them uniform, use a small cookie scoop. This helps make each ball the same size.
3. Place the balls on a baking sheet lined with parchment paper. This keeps them from sticking.
Chilling and Serving
1. Put the baking sheet in the fridge for at least 30 minutes. This helps the balls firm up.
2. Once chilled, you can enjoy them right away. They make a great snack!
3. Store any leftovers in an airtight container in the fridge. They stay fresh and tasty for about a week.
Tips & Tricks
Perfecting the Texture
To get the right texture for your protein balls, adjust the consistency as needed. If the mix feels too sticky, let it sit for a few minutes. This allows the oats to soak up some moisture. You can also add a bit more protein powder to thicken it up. Aim for a dough that holds together but isn’t too crumbly. It should be easy to shape into balls without sticking to your hands.
Enhancing Flavor
You can boost the flavor with some optional ingredients. Consider adding a pinch of cinnamon or a scoop of chia seeds for extra nutrients. If you like a different taste, try using almond butter instead of peanut butter. You can also swap honey for maple syrup if you prefer a vegan option. Feel free to experiment with different protein powder flavors, like vanilla or even berry.
Serving Suggestions
These protein balls are great for any time of day. They make an awesome snack before a workout or a quick breakfast on the go. Pair them with a smoothie or yogurt for added protein. You can even enjoy them as a sweet treat after a meal. They’re perfect for kids too, making them a fun and healthy snack option. Store them in an airtight container in the fridge to keep them fresh.
Variations
Flavor Combinations
You can switch things up with different nut butters. Try almond or cashew butter for a new twist. Each nut butter brings its own taste and texture. You can also use different protein powder flavors. Chocolate is great, but vanilla or even cookies and cream can work well too. The choice is yours!
Dietary Modifications
If you follow a vegan diet, you can easily make these protein balls vegan. Use agave syrup instead of honey. You can also create a nut-free version. Just swap peanut butter for sunflower seed butter. This keeps the protein balls safe for those with nut allergies.
Seasonal Variants
Think about adding seasonal flavors. For the holidays, mix in spices like cinnamon or nutmeg. They add warmth and joy to your snacks. In the summer, you can make fruity protein balls. Add a mix of dried fruits like cranberries or apricots for a burst of flavor. Each season brings new ideas!
Storage Info
Best Storage Practices
Store your chocolate peanut butter protein balls in an airtight container. This keeps them fresh. You can use glass or plastic containers. I prefer glass for easy cleaning.
Refrigeration is the best option for short-term storage. They stay good for a week in the fridge. If you want to keep them longer, freezing is great. Just make sure to wrap them well or use a freezer-safe container.
Shelf Life
How long do protein balls last? They last about a week in the fridge. If frozen, they can last for up to three months.
Look for signs of spoilage. If they smell off or look dry, toss them out. Also, if they feel sticky or mushy, it’s best to discard them.
Reheating/Defrosting Tips
To restore texture, let frozen protein balls thaw in the fridge overnight. This keeps them from getting too soft.
For quick thawing, you can leave them at room temperature for about 30 minutes. Avoid using a microwave, as it can change their texture. Enjoy your snack after they are thawed!
FAQs
Can I use other types of sweeteners?
Yes, you can swap honey or maple syrup for other sweeteners. Agave syrup works well. Stevia is a great low-calorie choice. Coconut sugar adds a nice caramel flavor, too. Just keep in mind that sweetness levels can differ. Always taste as you go to find your perfect balance.
Are these protein balls suitable for meal prep?
Absolutely! These protein balls are perfect for meal prep. You can make a big batch in about 15 minutes. Once you form the balls, store them in an airtight container. Keep them in the fridge for quick snacks all week. They also freeze well for longer storage. Just thaw before you enjoy!
How can I make these gluten-free?
To make these protein balls gluten-free, choose certified gluten-free oats. Most brands offer this option now. Check the protein powder for gluten content as well. Many are gluten-free, but it’s best to double-check. With these simple swaps, you can enjoy these tasty snacks without worry!
In this article, we explored how to make tasty protein balls. We discussed key ingredients, nutritional facts, and easy steps for preparation. You learned tips for texture, flavor, and serving ideas. We also shared variations and storage tips to keep your protein balls fresh.
These simple snacks are great for fuel or dessert. Try making them to fit your taste and needs. Enjoy the health benefits while treating your taste buds!